How-To-Tutorials · September 22, 2025
STM32 SPI Communication: Draw 16-bit RGB Graphics on 2.4-inch TFT Display
Introduction
In this tutorial, we will learn how to use SPI communication with an STM32 microcontroller to draw 16-bit RGB graphics on a 2.4-inch TFT display using the Adafruit GFX library. This guide will provide step-by-step instructions, ensuring you can successfully set up your hardware and software environment for graphics display.
Prerequisites
- Basic understanding of microcontroller programming
- STM32 development board (e.g., STM32F103C8T6)
- 2.4-inch TFT display (e.g., ILI9341)
- Arduino IDE or STM32CubeIDE installed
- Adafruit GFX library and Adafruit ILI9341 library
- Jumper wires for connections
Parts/Tools
- STM32 development board
- 2.4-inch TFT display (ILI9341)
- Breadboard and jumper wires
- Computer with Arduino IDE or STM32CubeIDE
- USB cable for programming
Steps
- Wiring the Display
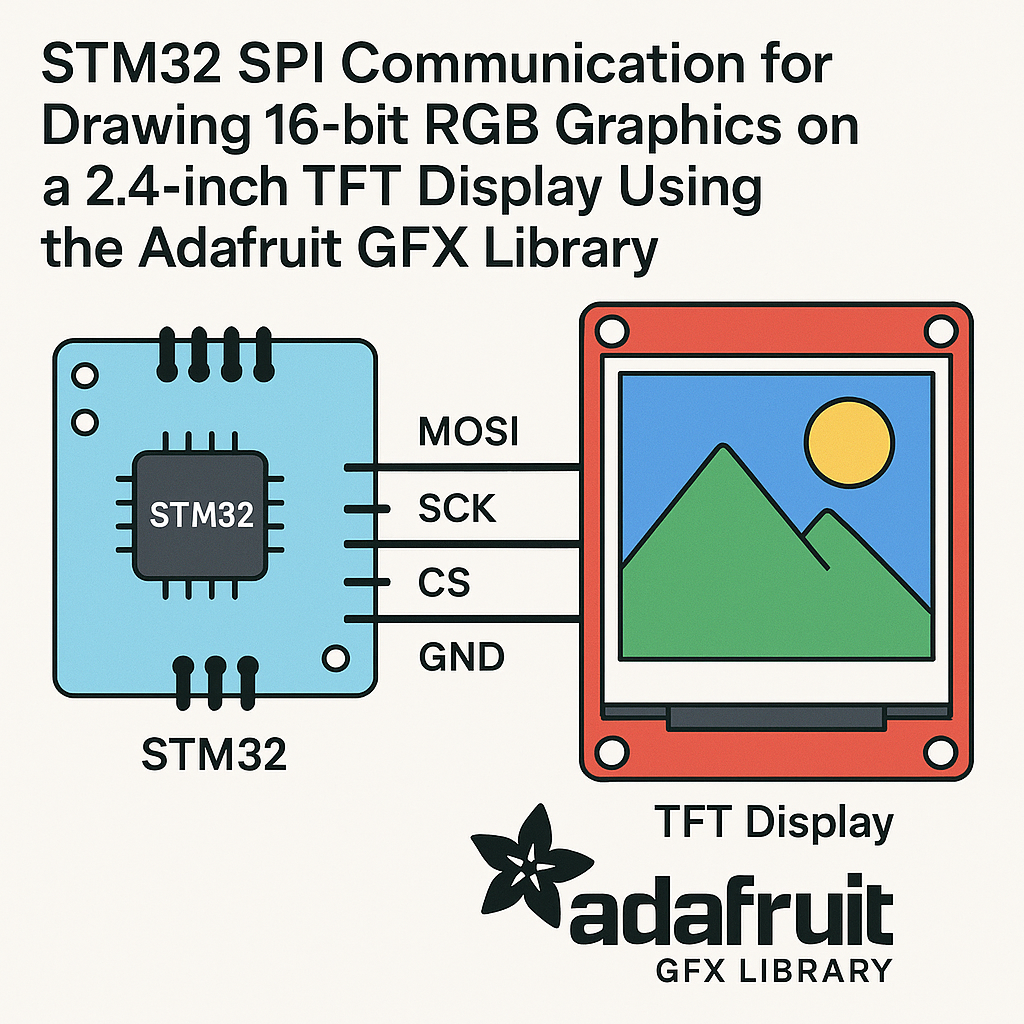
- Connect the TFT display to the STM32 board using the following pin configuration:
STM32 Pin | TFT Pin ----------------|--------- GND | GND 3.3V | VCC D3 (SPI1 MOSI) | SDI D5 (SPI1 SCK) | SCK D2 (Digital) | DC/RS D4 (Digital) | CS D6 (Digital) | RESET - Installing the Libraries
- Open the Arduino IDE.
- Go to Sketch > Include Library > Manage Libraries…
- Search for and install Adafruit GFX and Adafruit ILI9341 libraries.
- Writing the Code
- Open a new sketch and include the libraries at the top:
- Define the pins used for the display:
- In the setup() function, initialize the display:
- In the loop() function, draw some graphics:
#include #include#define TFT_CS D4 #define TFT_RST D6 #define TFT_DC D2 Adafruit_ILI9341 tft = Adafruit_ILI9341(TFT_CS, TFT_DC, TFT_RST);void setup() { tft.begin(); tft.setRotation(3); tft.fillScreen(ILI9341_BLACK); }void loop() { tft.fillCircle(120, 160, 50, ILI9341_RED); delay(1000); tft.fillCircle(120, 160, 50, ILI9341_BLUE); delay(1000); } - Uploading the Code
- Select the correct board and port in the IDE.
- Click on Upload to flash the code to the STM32 board.
- Testing the Display
- Once the upload is complete, observe the TFT display.
- You should see a red circle followed by a blue circle.
Troubleshooting
- Display not turning on: Check the wiring and ensure the power supply is connected properly.
- Incorrect colors or artifacts: Verify the SPI settings and ensure the correct pins are used.
- Library not found: Ensure you have installed the Adafruit libraries correctly and check for updates.
- Compilation errors: Make sure to include the correct library paths and check for typos in your code.
Conclusion
You have successfully set up SPI communication with an STM32 microcontroller to draw graphics on a 2.4-inch TFT display using the Adafruit GFX library. By following this tutorial, you should now be able to modify the code and create your own graphics projects. Happy coding!