How-To-Tutorials · September 22, 2025
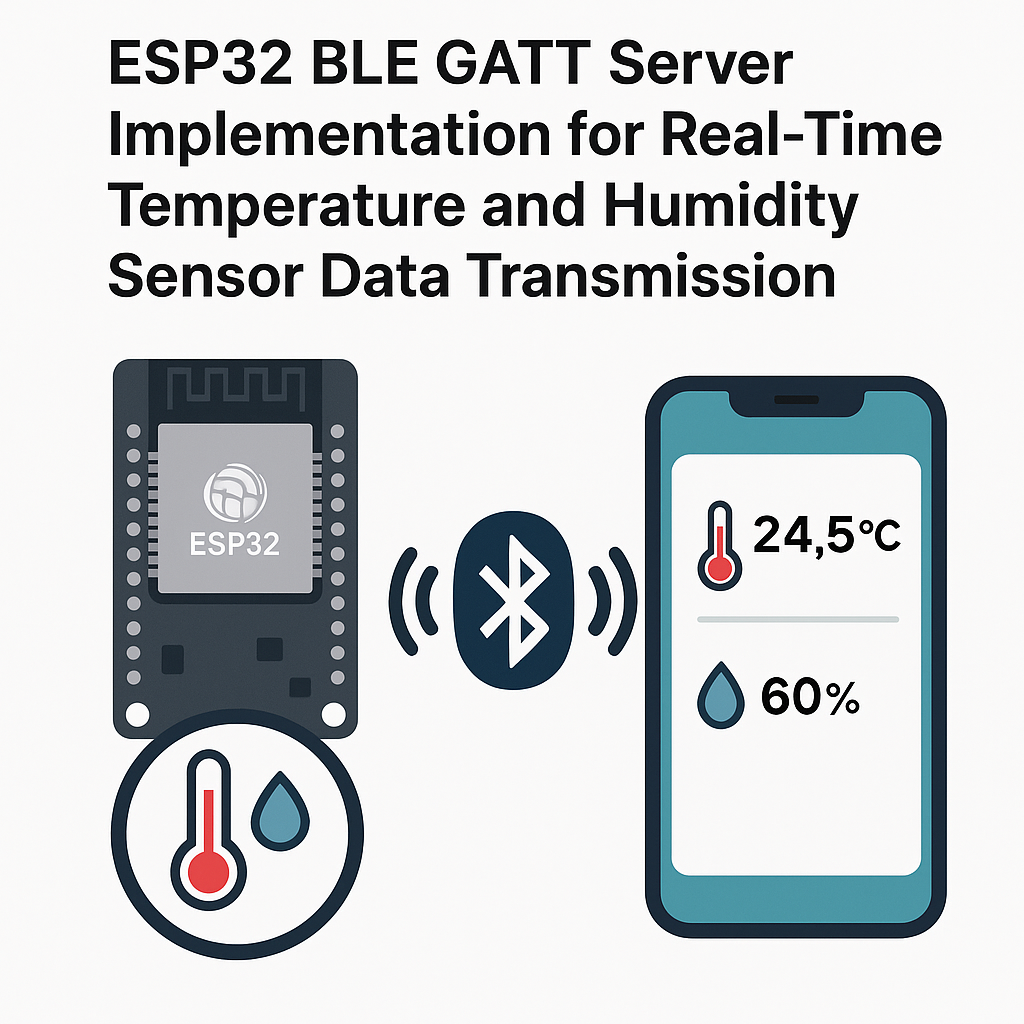
Implement ESP32 BLE GATT Server for Real-Time Temperature and Humidity Data
Introduction
This tutorial will guide you through implementing a BLE (Bluetooth Low Energy) GATT (Generic Attribute Profile) server on an ESP32 to transmit real-time temperature and humidity data from a sensor. By the end of this tutorial, you will have a working ESP32 setup that can send sensor data to a BLE client, such as a smartphone or tablet.
Prerequisites
- Basic understanding of Arduino programming and the ESP32 platform.
- ESP32 development board.
- Temperature and humidity sensor (e.g., DHT11 or DHT22).
- Arduino IDE installed with ESP32 board support.
- Bluetooth-enabled device (smartphone/tablet) for testing.
Parts/Tools
- ESP32 Development Board
- DHT11 or DHT22 Sensor
- Jumper wires
- USB cable for programming the ESP32
- Arduino IDE with ESP32 libraries
Steps
- Set up the hardware:
- Connect the DHT sensor to the ESP32.
- For DHT11 or DHT22, typically, connect:
- VCC to 3.3V
- GND to GND
- Data pin to a digital pin (e.g., GPIO 4)
- Install necessary libraries:
- Open Arduino IDE.
- Go to Sketch > Include Library > Manage Libraries…
- Search for and install DHT sensor library and ESP32 BLE library.
- Write the code:
- Create a new sketch in Arduino IDE and include the necessary libraries:
#include <DHT.h> #include <BLEDevice.h> #include <BLEUtils.h> #include <BLEServer.h> - Define the DHT sensor and BLE server parameters:
- Initialize BLE server and characteristics:
- Set up a loop to read sensor data and notify clients:
- Upload the code:
- Select the correct board and port in Arduino IDE.
- Click on the upload button to compile and upload the code to your ESP32.
- Test the BLE server:
- Use a BLE scanner app (like nRF Connect) on your smartphone or tablet.
- Scan for devices and connect to "ESP32_Temp_Hum".
- Read the notifications to see real-time temperature and humidity data.
#define DHTPIN 4 // Data pin for the sensor
#define DHTTYPE DHT22 // DHT 22 (AM2302)

DHT dht(DHTPIN, DHTTYPE);
BLEServer *pServer = NULL;void setup() {
Serial.begin(115200);
dht.begin();
BLEDevice::init("ESP32_Temp_Hum");
pServer = BLEDevice::createServer();
BLECharacteristic *pCharacteristic = pServer->createCharacteristic(
BLEUUID((uint16_t)0xFF01),
BLECharacteristic::PROPERTY_READ |
BLECharacteristic::PROPERTY_NOTIFY
);
pCharacteristic->addDescriptor(new BLE2902());
}void loop() {
float h = dht.readHumidity();
float t = dht.readTemperature();
if (isnan(h) || isnan(t)) {
Serial.println("Failed to read from DHT sensor!");
return;
}
String data = "Temp: " + String(t) + " °C, Hum: " + String(h) + " %";
pCharacteristic->setValue(data.c_str());
pCharacteristic->notify();
Serial.println(data);
delay(2000); // Send data every 2 seconds
}Troubleshooting
- ESP32 not showing up: Ensure the ESP32 is powered and properly connected to your computer. Verify the correct COM port is selected in Arduino IDE.
- Sensor not reading: Check the wiring of the sensor. Ensure the data pin is connected to the correct GPIO.
- No notifications on the app: Ensure you have the correct UUID and that you are subscribed to notifications in your BLE client app.
Conclusion
Congratulations! You have successfully implemented a BLE GATT server on an ESP32 to transmit real-time temperature and humidity data. You can now explore further by adding additional sensors or functionalities to your project. Happy coding!