Implement DVFS Firmware on STM32F4 for Optimal IoT Power Management
Implementing Dynamic Voltage and Frequency Scaling (DVFS) Firmware on an STM32F4 for Optimal Power Management in IoT Applications
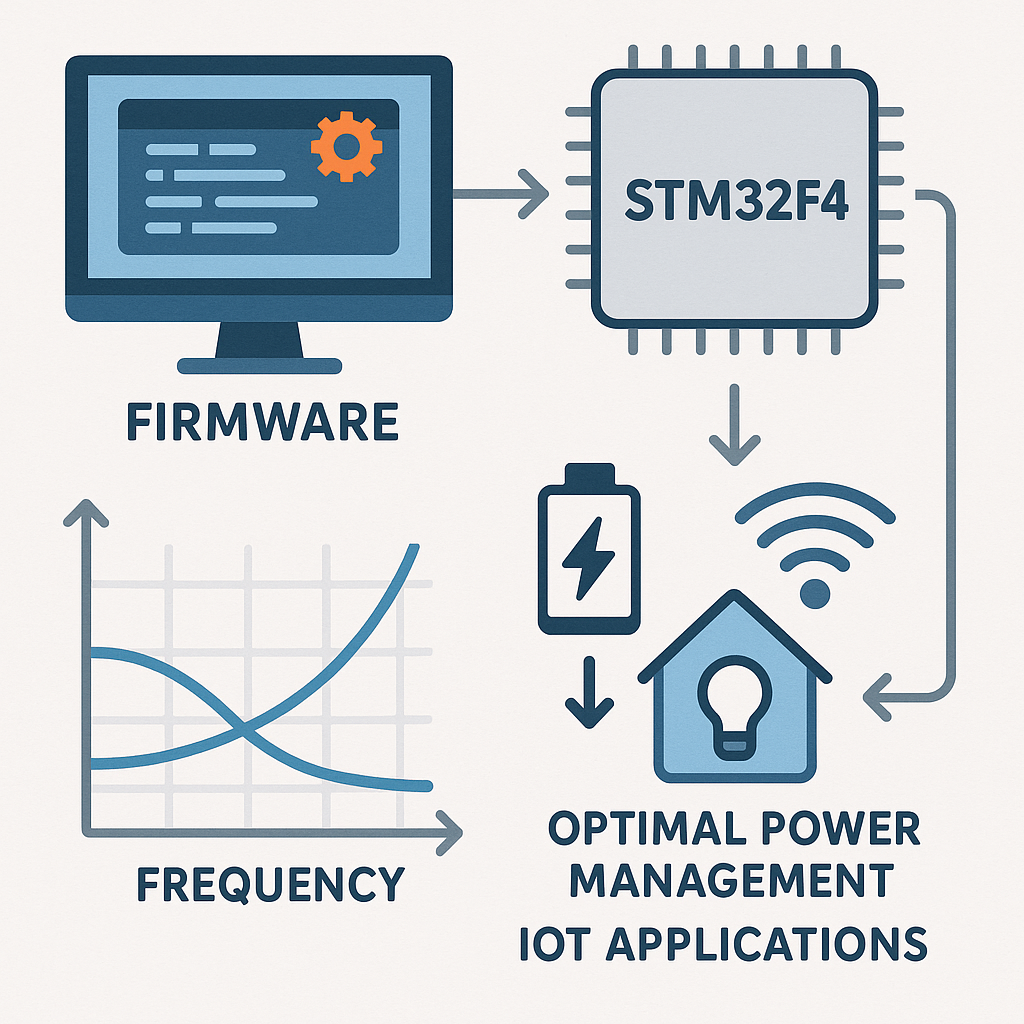
Dynamic Voltage and Frequency Scaling (DVFS) is a power management technique that adjusts the voltage and frequency of a microcontroller based on the workload. Implementing DVFS on an STM32F4 microcontroller can enhance the efficiency of IoT applications, extending battery life and improving performance. This tutorial will guide you through the process of implementing DVFS firmware on the STM32F4.
Prerequisites
- Basic knowledge of embedded systems and microcontrollers.
- Familiarity with the STM32F4 series microcontroller.
- STM32CubeIDE or an equivalent IDE installed on your computer.
- STM32F4 development board.
- USB to UART converter (if necessary for debugging).
Parts/Tools
- STM32F4 development board (e.g., STM32F4Discovery).
- USB cable for power and data transfer.
- STM32CubeIDE for programming and debugging.
- Multimeter for measuring power consumption (optional).
Steps
- Set Up Your Development Environment
- Download and install STM32CubeIDE from the official STMicroelectronics website.
- Open STM32CubeIDE and create a new STM32 project.
- Select your STM32F4 microcontroller or development board.
- Configure the Clock Settings
- Open the Clock Configuration tab in STM32CubeIDE.
- Set the system clock frequency according to the desired DVFS levels, for instance, 168 MHz as the max frequency.
- Configure the PLL settings to match the target frequency.
- Implement DVFS Algorithm
- Create a new source file, e.g.,
dvfs.c. - Include necessary headers:
#include "stm32f4xx_hal.h" #include "dvfs.h" - Create a new source file, e.g.,
- Define voltage and frequency levels:
- Implement the DVFS function:
- Integrate DVFS with Application Logic
- In your main application loop, monitor the workload.
- Call the
set_dvfs()function based on workload:
if(current_load < THRESHOLD) { set_dvfs(LOW_VOLTAGE, LOW_FREQ); } else { set_dvfs(HIGH_VOLTAGE, HIGH_FREQ); } - Compile and Flash the Firmware
- Build your project in STM32CubeIDE.
- Connect your STM32F4 board to your computer using a USB cable.
- Flash the firmware onto the board.
- Test and Validate
- Use a multimeter to measure power consumption at different workload scenarios.
- Verify that the voltage and frequency adjust as expected.
#define LOW_VOLTAGE   1.2f
#define HIGH_VOLTAGE  1.8f
#define LOW_FREQ      24e6
#define HIGH_FREQ 168e6void set_dvfs(float voltage, float frequency) {
// Set voltage level
// Set frequency level
}Troubleshooting
- Problem: The microcontroller does not respond.
- Check the power connections and ensure the board is powered correctly.
- Verify the USB connection and ensure the correct COM port is selected in the IDE.
- Problem: DVFS settings do not change voltage/frequency.
- Ensure the
set_dvfs()function is being called correctly in your main loop. - Check the configuration of the clock settings in STM32CubeIDE.
- Ensure the
- Problem: Unstable power consumption readings.
- Make sure your multimeter is set to the correct measurement mode.
- Check for any external factors that may affect power readings.
Conclusion
Implementing DVFS on an STM32F4 microcontroller can significantly enhance power management in IoT applications. By following this tutorial, you have successfully set up the DVFS firmware, allowing your application to adapt dynamically to varying workloads. This not only optimizes performance but also extends the lifespan of battery-operated devices.