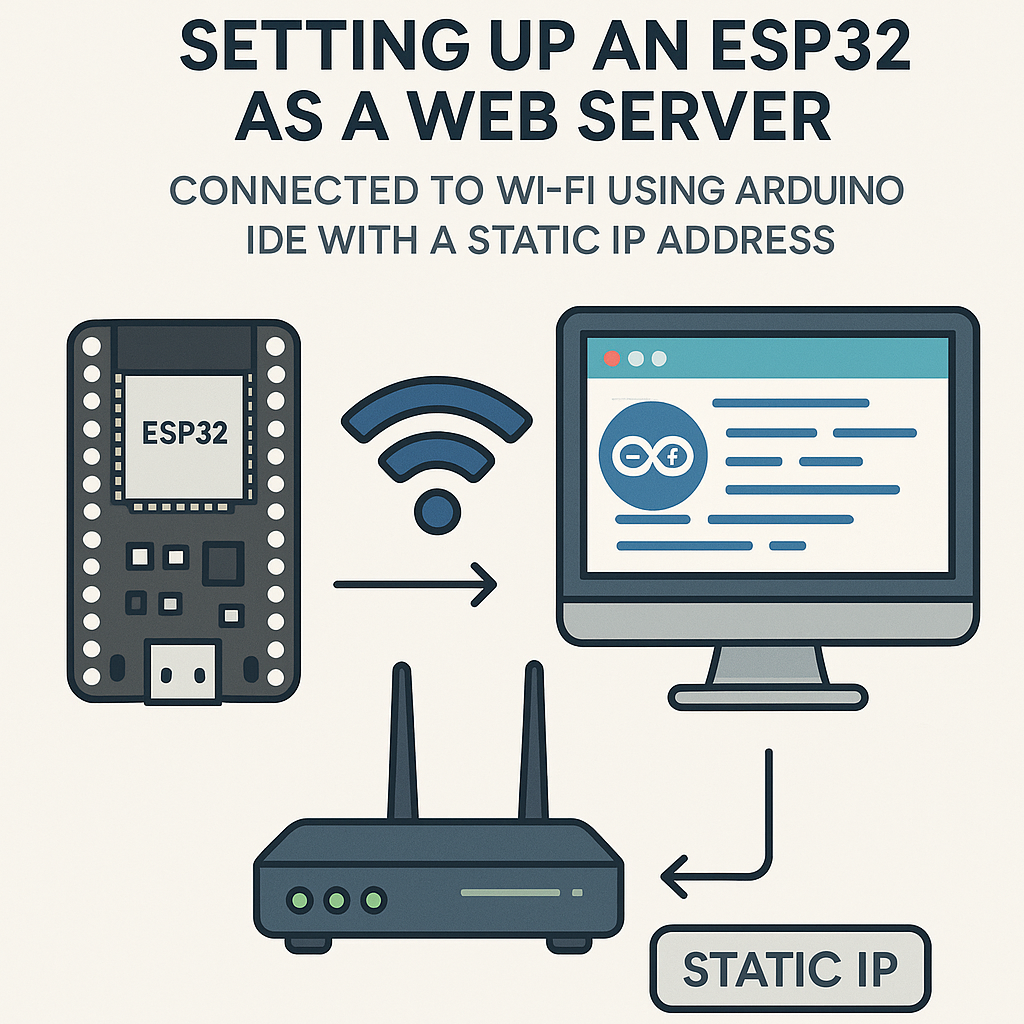
How to Set Up an ESP32 Web Server with Static IP in Arduino IDE
Why Use a Static IP?
When you’re building an IoT project with an ESP32 web server, the last thing you want is the IP address changing every time the board reboots. A static IP means you always know exactly where to find your device on the network—no mDNS, no scanning, no guessing. This is especially useful for local dashboards, sensor endpoints, or any project where you bookmark the device’s address.
Here’s how to set it up using Arduino IDE 2.x and the ESP32 Arduino core v3.x.
What You Need
- ESP32 development board (any variant with Wi-Fi works)
- Arduino IDE 2.x installed
- USB cable for programming
- Your Wi-Fi network SSID and password
- A free IP address on your local network (check your router’s DHCP range to avoid conflicts)
Step 1: Install the ESP32 Board Package
If you haven’t already set up ESP32 support in Arduino IDE 2.x:
- Open Arduino IDE and go to File > Preferences.
- In the “Additional Board Manager URLs” field, add:
- Click OK.
- Open Tools > Board > Boards Manager, search for “esp32”, and install the latest v3.x package from Espressif.
https://espressif.github.io/arduino-esp32/package_esp32_index.jsonWatch out: the old board manager URL (dl.espressif.com/dl/package_esp32_index.json) still works but may point to older core versions. Use the new URL above to get the v3.x Arduino core.
Step 2: Connect and Select Your Board
- Plug your ESP32 into your computer via USB.
- In Arduino IDE, go to Tools > Board and pick your specific ESP32 variant (e.g., “ESP32 Dev Module”).
- Select the correct port under Tools > Port. On macOS it’ll look like
/dev/cu.usbserial-XXXX, on Windows it’s a COM port.
Tip: if the port doesn’t show up, you may need a CP2102 or CH340 USB driver depending on your board’s USB-to-serial chip.
Step 3: Write the Static IP Web Server Code
Here’s a complete sketch that connects to Wi-Fi with a static IP and serves a basic web page:
#include <WiFi.h>
#include <WebServer.h>

const char* ssid = "your_SSID";
const char* password = "your_PASSWORD";

// Static IP configuration - adjust these for YOUR network
IPAddress local_IP(192, 168, 1, 184);
IPAddress gateway(192, 168, 1, 1);
IPAddress subnet(255, 255, 255, 0);
IPAddress dns(8, 8, 8, 8);  // Google DNS, or use your router's IP

WebServer server(80);

void handleRoot() {
  server.send(200, "text/html",
    "<h1>ESP32 Web Server</h1>"
    "<p>Running on static IP: " + WiFi.localIP().toString() + "</p>");
}

void setup() {
  Serial.begin(115200);

  // Configure static IP before calling WiFi.begin()
  if (!WiFi.config(local_IP, gateway, subnet, dns)) {
    Serial.println("Static IP configuration failed");
  }

  WiFi.begin(ssid, password);
  Serial.print("Connecting to Wi-Fi");

  int attempts = 0;
  while (WiFi.status() != WL_CONNECTED && attempts < 20) {
    delay(500);
    Serial.print(".");
    attempts++;
  }

  if (WiFi.status() == WL_CONNECTED) {
    Serial.println();
    Serial.print("Connected! IP address: ");
    Serial.println(WiFi.localIP());
  } else {
    Serial.println();
    Serial.println("Wi-Fi connection failed. Check credentials and network.");
    return;
  }

  server.on("/", handleRoot);
  server.begin();
  Serial.println("Web server started");
}

void loop() {
  server.handleClient();
}
A few things to note in this code:
- The
WiFi.config()call must happen beforeWiFi.begin(). That order matters. - I added a DNS parameter—without it, your ESP32 won’t be able to resolve hostnames if you ever need outbound HTTP requests.
- The connection loop has a timeout so your board doesn’t hang forever if the network is down.
- The
WebServerlibrary (included with the ESP32 Arduino core v3.x) gives you a clean way to handle HTTP routes without manual string parsing.
Step 4: Upload and Test
- Click the upload button (arrow icon) in Arduino IDE.
- Open the Serial Monitor (Tools > Serial Monitor) at 115200 baud.
- You should see the connection messages and your static IP printed.
- Open a browser on the same network and navigate to
http://192.168.1.184(or whatever IP you configured). You’ll see the web page served by your ESP32.
Troubleshooting
- ESP32 won’t connect to Wi-Fi: Double-check your SSID and password. Also verify the gateway IP matches your actual router—most home routers are
192.168.1.1or192.168.0.1, but yours might differ. - IP address conflict: Make sure no other device on your network is using the same IP. Check your router’s DHCP lease table, and ideally pick an address outside the DHCP range (e.g., if DHCP assigns .100-.200, use .50 or .210).
- Can’t upload code: Hold the BOOT button on some ESP32 boards while the IDE tries to upload. Also confirm the right board and port are selected.
- Page loads slowly or not at all: Make sure
server.handleClient()is in yourloop()with no blockingdelay()calls. Long delays starve the web server. - Static IP not sticking: If
WiFi.config()returns false, your IP/gateway/subnet combination might be invalid. The gateway and static IP need to be on the same subnet.
What’s Next
You’ve got a working web server at a fixed address—that’s your foundation. From here you can add API endpoints that return sensor data as JSON, serve a proper HTML/CSS dashboard from SPIFFS or LittleFS, or add basic authentication so not everyone on your network can access the page. If you need HTTPS, the ESP32 Arduino core v3.x supports it via WiFiClientSecure, though TLS on an ESP32 does eat into your available RAM.