How to Monitor Temperature in Real-Time with ESP32, DHT22, and MQTT
Introduction
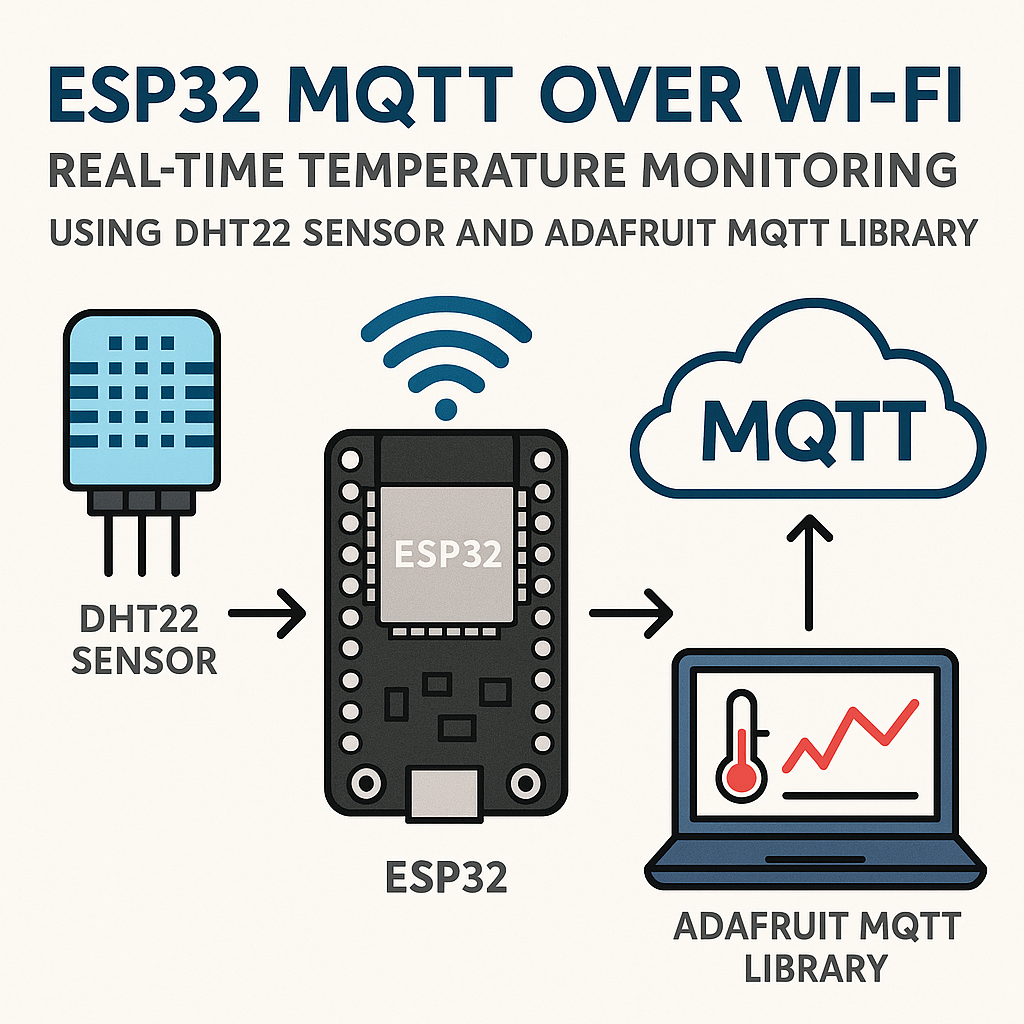
MQTT is the go-to protocol for pushing sensor data from microcontrollers to brokers, dashboards, and cloud services. It's lightweight, runs over TCP, and most IoT platforms speak it natively. This project connects an ESP32 to a DHT22 temperature/humidity sensor and publishes readings to an MQTT broker over Wi-Fi. Once the data hits the broker, you can pick it up with any MQTT client, pipe it into Home Assistant, Node-RED, or whatever your stack looks like.
The DHT22 isn't the fastest or most accurate sensor out there, but it's cheap, well-supported, and good enough for room-level temperature monitoring. If you need higher precision later, the code pattern stays the same with a different sensor library.
Prerequisites
- Basic Arduino programming knowledge
- ESP32 development board
- DHT22 temperature and humidity sensor
- An MQTT broker (Mosquitto running locally, or a cloud broker like HiveMQ or Adafruit IO)
- Arduino IDE 2.x with ESP32 board support installed (Arduino ESP32 core v3.x)
- Adafruit MQTT library or PubSubClient installed via Library Manager
Parts/Tools
- ESP32 Development Board
- DHT22 Sensor
- Breadboard and Jumper Wires
- USB Cable for ESP32
- Computer with Arduino IDE 2.x
Steps
-
Set Up Hardware
- Wire the DHT22 to the ESP32:
- VCC to 3V3
- GND to GND
- Data Pin to GPIO 23
- A 10k pull-up resistor between the data pin and VCC is technically required by the DHT22 spec. Some breakout boards have one built in, but if you're using a bare sensor and getting intermittent read failures, a missing pull-up is almost always the reason.
- Wire the DHT22 to the ESP32:
-
Configure Arduino IDE
- Open Arduino IDE 2.x. If you haven't added ESP32 board support yet, go to File > Preferences and add the ESP32 board manager URL, then install via Board Manager.
- Install the required libraries through the Library Manager:
Sketch > Include Library > Manage Libraries... - Search for and install:
- Adafruit Unified Sensor
- DHT sensor library
- PubSubClient (by Nick O'Leary) — this is the most widely used MQTT library for Arduino and works great with the ESP32
-
Write the Code
- Open a new sketch and pull in the libraries:
#include <WiFi.h> #include <DHT.h> #include <PubSubClient.h> - Set up your sensor pin, Wi-Fi credentials, and MQTT server. Replace the placeholder values with your actual credentials:
#define DHTPIN 23 #define DHTTYPE DHT22 const char* ssid = "YOUR_SSID"; const char* password = "YOUR_PASSWORD"; const char* mqtt_server = "MQTT_BROKER_ADDRESS"; - Declare your global objects. The WiFiClient handles the TCP connection and PubSubClient sits on top of it for MQTT:
WiFiClient espClient; PubSubClient client(espClient); DHT dht(DHTPIN, DHTTYPE); - In
setup(), initialize serial output, connect to Wi-Fi, point the MQTT client at your broker, and start the DHT sensor:void setup() { Serial.begin(115200); setup_wifi(); client.setServer(mqtt_server, 1883); dht.begin(); } - Write a
setup_wifi()helper that blocks until connected. Adding a short delay in the retry loop keeps the serial output readable:void setup_wifi() { WiFi.begin(ssid, password); while (WiFi.status() != WL_CONNECTED) { delay(500); Serial.print("."); } Serial.println("WiFi connected"); }
- Open a new sketch and pull in the libraries:
-
Implement the Loop Function
- The loop handles MQTT reconnection, reads the sensor, and publishes. The DHT22 needs about 2 seconds between reads, so the delay at the end lines up with the sensor's timing:
void loop() { if (!client.connected()) { reconnect(); } client.loop(); float h = dht.readHumidity(); float t = dht.readTemperature(); if (isnan(h) || isnan(t)) { Serial.println("Failed to read from DHT sensor!"); return; } String temp = String(t); client.publish("home/temperature", temp.c_str()); delay(2000); } - Watch out: using
delay(2000)blocks the entire loop, which means MQTT keepalive packets don't get processed during that time. For a simple temperature logger this is fine, but if you're building something more complex, switch to a non-blocking approach usingmillis()instead.
- The loop handles MQTT reconnection, reads the sensor, and publishes. The DHT22 needs about 2 seconds between reads, so the delay at the end lines up with the sensor's timing:
-
Upload the Code
- Connect your ESP32 via USB.
- Select the correct board and port in Arduino IDE 2.x:
Tools > Board > ESP32 Dev Module Tools > Port > COMX (or /dev/ttyUSBx on Linux) - Hit Upload. If the upload fails with a connection timeout, hold the BOOT button on the ESP32 while the IDE is trying to connect. Some boards need this, others don't.
-
Monitor MQTT Messages
- Use an MQTT client like MQTT Explorer (free, cross-platform) to subscribe to:
home/temperature - You should see temperature readings showing up every 2 seconds. If you're running Mosquitto locally, you can also test from the command line:
mosquitto_sub -h localhost -t home/temperature
- Use an MQTT client like MQTT Explorer (free, cross-platform) to subscribe to:
Troubleshooting
- If you don't see any MQTT messages:
- Open the Serial Monitor at 115200 baud and check for Wi-Fi connection status and error messages.
- Verify your MQTT broker is actually running and reachable from the same network. Try pinging the broker's IP from your computer first.
- If the ESP32 connects to Wi-Fi but not MQTT, double-check the broker address and port. Port 1883 is unencrypted MQTT; if your broker requires TLS, you'll need port 8883 and a WiFiClientSecure instead.
- If temperature readings look wrong:
- The DHT22 returns NaN if the sensor isn't wired correctly or if you're reading it too fast. The 2-second delay should prevent the timing issue.
- If you get a constant 0 or clearly wrong values, check your wiring and confirm you're using the correct GPIO pin (GPIO number, not the physical pin number on the board).
Where to Go from Here
You've got a working ESP32 temperature monitor pushing data to an MQTT broker. This is the foundation for a lot of useful IoT projects. Some natural next steps: publish humidity as a separate topic, add a JSON payload with both values plus a timestamp, set up a Grafana dashboard to visualize trends, or integrate with Home Assistant for automation triggers. You could also swap the DHT22 for a BME280 (I2C, more accurate, faster reads) without changing much of the MQTT code.