
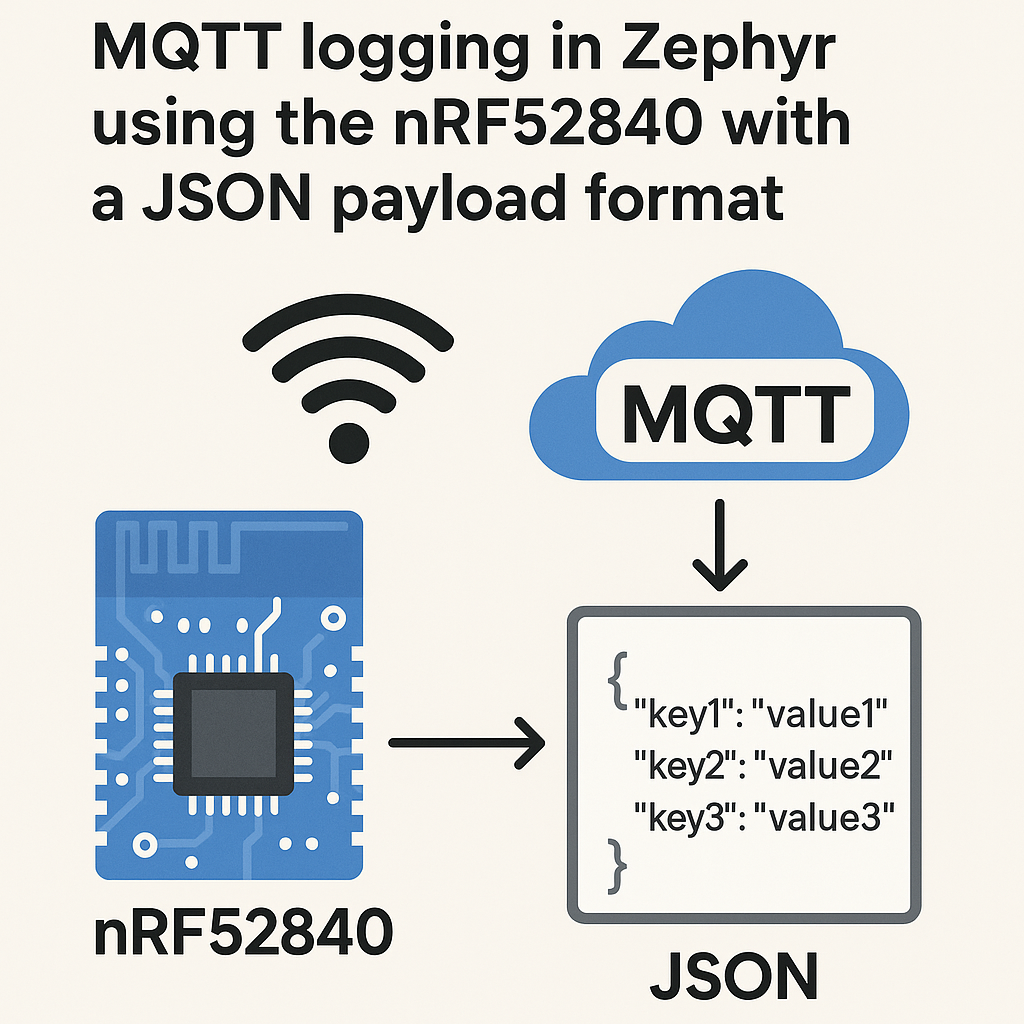
Implementing Wi-Fi-based MQTT Logging in Zephyr using the nRF52840 with a JSON Payload Format
This tutorial will guide you through the process of implementing Wi-Fi-based MQTT logging in the Zephyr RTOS using the nRF52840 development board. We will focus on sending data in a JSON format, which is popular for its lightweight structure and ease of use. By the end of this tutorial, you will have a working example of an MQTT logger that can send JSON payloads over Wi-Fi.
Prerequisites
- Basic understanding of C programming and embedded systems.
- Familiarity with Zephyr RTOS.
- nRF52840 development board.
- Wi-Fi network credentials.
- MQTT broker (e.g., Mosquitto) set up and running.
- Development environment for Zephyr (e.g., VS Code or command line with Zephyr SDK).
Parts/Tools
- nRF52840 Development Board
- USB cable for programming
- Computer with Zephyr SDK installed
- MQTT broker (e.g., Mosquitto)
Steps
-
Set Up Your Development Environment
- Install the Zephyr SDK and ensure that the toolchain is configured correctly.
- Clone the Zephyr repository:
git clone https://github.com/zephyrproject-rtos/zephyr.git - Navigate to the Zephyr directory:
cd zephyr
-
Configure the nRF52840 Board
- Set up your board configuration by creating a new application directory:
mkdir my_mqtt_app && cd my_mqtt_app - Create a new `prj.conf` file and add the following configurations:
CONFIG_MQTT_LIB=y
CONFIG_WIFI_NRF7002=y
CONFIG_NET_MQTT_CLEAN_SESSION=y
CONFIG_NET_DEBUG_MQTT=y
CONFIG_JSON=y
- Set up your board configuration by creating a new application directory:
-
Implement the Application Code
- Create a `src/main.c` file and include necessary headers:
#include #include #include #include #include - Define the MQTT client and connection parameters:
static struct mqtt_client client; static struct sockaddr_storage broker; // Fill with your broker details - Implement the JSON payload creation function:
char* create_json_payload() { cJSON *root = cJSON_CreateObject(); cJSON_AddStringToObject(root, "sensor", "temperature"); cJSON_AddNumberToObject(root, "value", 23.5); char *json_string = cJSON_Print(root); cJSON_Delete(root); return json_string; } - Set up the MQTT connection and publish the JSON data:
void publish_data() {
    char *json_payload = create_json_payload();
    mqtt_publish(&client, "sensors/data", json_payload, strlen(json_payload), 0);
    free(json_payload);
}
- Create a `src/main.c` file and include necessary headers:
-
Build and Flash the Application
- Use the following commands to build your application:
west build -b nrf52840dk_nrf52840 - Flash the application to your nRF52840 board:
west flash
- Use the following commands to build your application:
Troubleshooting
- If you encounter issues connecting to the MQTT broker, check your Wi-Fi credentials and ensure the broker is running.
- For JSON parsing errors, validate your JSON structure using tools like JSONLint.
- Check the Zephyr logs for any error messages by enabling logging in your `prj.conf`:
CONFIG_LOG=y
CONFIG_LOG_DEFAULT_LEVEL=3
Conclusion
In this tutorial, you have successfully implemented Wi-Fi-based MQTT logging in Zephyr using the nRF52840. You learned how to create a JSON payload and send it to an MQTT broker. This setup can be expanded for various applications, such as IoT devices that require remote monitoring and data logging.

