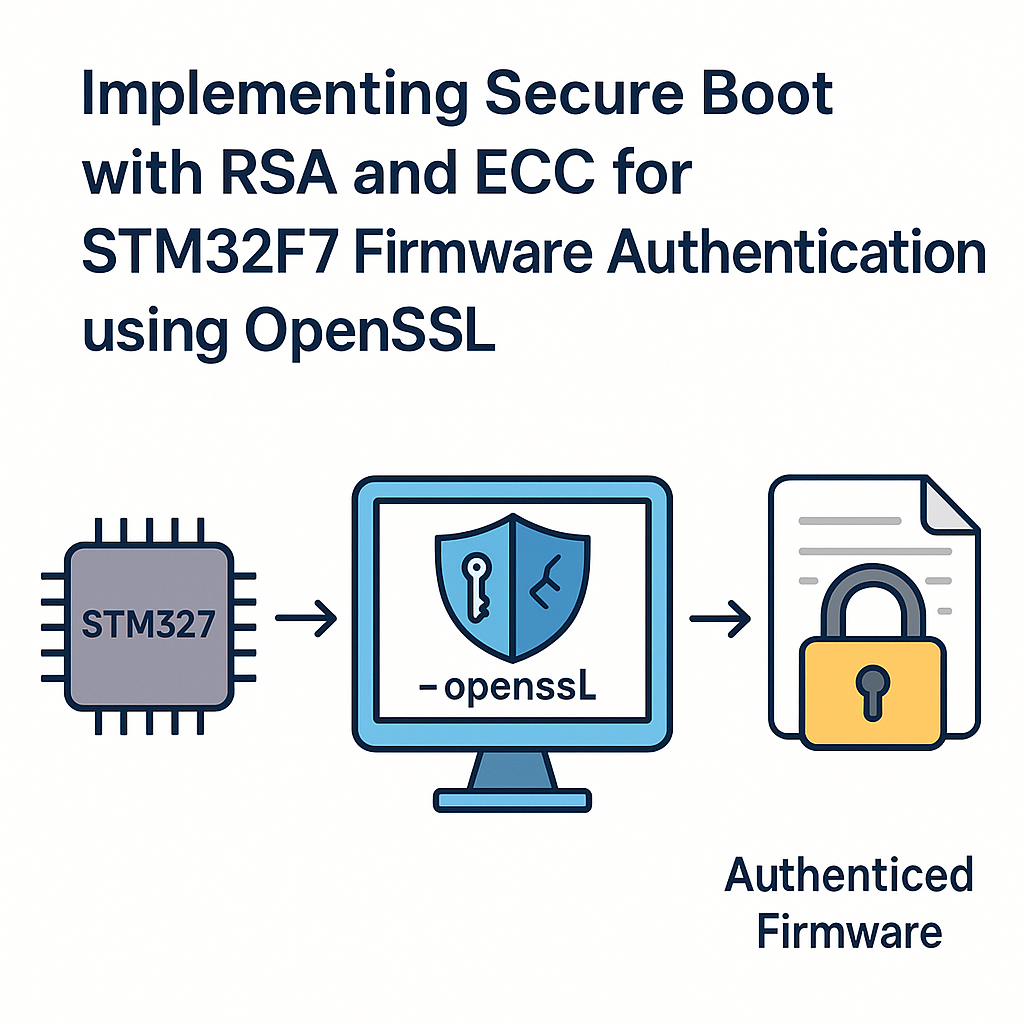
How to Implement Secure Boot with RSA and ECC for STM32F7 Firmware Authentication
Why Secure Boot Matters on STM32F7
If someone can flash arbitrary firmware onto your STM32F7, your product’s security is fundamentally broken. Secure boot solves this by verifying a cryptographic signature on the firmware image before executing it. Only code signed with your private key runs on the device. Everything else gets rejected at boot time.
This guide walks through implementing firmware signature verification on the STM32F7 using RSA and ECC with OpenSSL for key generation and signing. We’ll also touch on how MCUboot fits into this picture, since it’s become the go-to open-source secure bootloader for Cortex-M devices.
Prerequisites
- STM32F7 development board (e.g., NUCLEO-F767ZI or STM32F7 Discovery)
- STM32CubeIDE v1.16+ installed
- OpenSSL installed on your development machine
- Working knowledge of C and the STM32 HAL
- Basic understanding of public-key cryptography (RSA, ECDSA, SHA-256)
Tools
- STM32CubeIDE v1.16+ for firmware development and debugging
- STM32CubeMX (integrated in CubeIDE) for peripheral initialization
- OpenSSL command-line tools for key generation and firmware signing
- ST-Link debugger (built into most Nucleo and Discovery boards)
Step 1: Generate Your Signing Keys
You need a keypair: the private key stays on your build machine (guard it carefully), and the public key gets embedded in the bootloader on the STM32F7.
For RSA (2048-bit minimum, 3072-bit recommended for new designs):
openssl genpkey -algorithm RSA -pkeyopt rsa_keygen_bits:3072 -out rsa_private.pem
openssl rsa -pubout -in rsa_private.pem -out rsa_public.pem
For ECC (P-256 curve, also called prime256v1):
openssl ecparam -name prime256v1 -genkey -noout -out ecc_private.pem
openssl ec -in ecc_private.pem -pubout -out ecc_public.pem
A practical note: ECC with P-256 gives you equivalent security to RSA-3072 but with much smaller keys and faster verification—a real advantage on a microcontroller. I’d recommend ECC for new designs unless you have a specific reason to use RSA.
Step 2: Sign Your Firmware Binary
After compiling your application firmware to a binary (e.g., firmware.bin), sign it with your private key:
Using RSA:
openssl dgst -sha256 -sign rsa_private.pem -out firmware_rsa.sig firmware.binUsing ECDSA:
openssl dgst -sha256 -sign ecc_private.pem -out firmware_ecc.sig firmware.binThe signature file gets appended to or stored alongside the firmware image in flash. How you structure this depends on your flash layout—typically you’ll define a header at a known offset that contains the signature and image length.
Step 3: Design Your Flash Memory Layout
You need at least two regions in flash:
- Bootloader region (starts at 0x08000000): Contains your secure boot code and the embedded public key. This region should be write-protected using the STM32F7’s flash option bytes.
- Application region (starts at a sector boundary, e.g., 0x08040000): Contains the signed firmware image with its signature header.
Use STM32CubeMX to configure your linker script so the bootloader and application don’t overlap. Watch out for sector boundaries on the STM32F7—the first few sectors are smaller (16KB/64KB) while later ones are 128KB or 256KB depending on the variant.
Step 4: Implement the Bootloader Verification Logic
Your bootloader needs to: read the firmware image from flash, compute its SHA-256 hash, and verify the signature against the embedded public key. Here’s the general structure:
#include "stm32f7xx_hal.h"
#include <string.h>
#include <stdint.h>

// You'll need a crypto library that runs on bare metal.
// Options: mbedTLS (included in STM32Cube), wolfSSL, or the
// STM32F7's hardware crypto accelerator (HASH and PKA peripherals).
#include "mbedtls/sha256.h"
#include "mbedtls/pk.h"

#define APP_ADDRESS       0x08040000U
#define APP_MAX_SIZE      (512 * 1024)  // adjust for your flash
#define SIG_OFFSET        APP_MAX_SIZE  // signature stored after image

// Public key in PEM or DER format, embedded as a C array
extern const unsigned char public_key_der[];
extern const size_t public_key_der_len;

int verify_firmware(void) {
    uint8_t hash[32];
    mbedtls_sha256_context sha_ctx;
    mbedtls_pk_context pk;

    // 1. Hash the firmware image
    mbedtls_sha256_init(&sha_ctx);
    mbedtls_sha256_starts(&sha_ctx, 0); // 0 = SHA-256 (not SHA-224)
    mbedtls_sha256_update(&sha_ctx,
        (const uint8_t *)APP_ADDRESS, get_firmware_size());
    mbedtls_sha256_finish(&sha_ctx, hash);
    mbedtls_sha256_free(&sha_ctx);

    // 2. Load the public key
    mbedtls_pk_init(&pk);
    if (mbedtls_pk_parse_public_key(&pk,
            public_key_der, public_key_der_len) != 0) {
        return -1; // key parse error
    }

    // 3. Verify the signature
    const uint8_t *sig = (const uint8_t *)(APP_ADDRESS + SIG_OFFSET);
    size_t sig_len = get_signature_size();

    int result = mbedtls_pk_verify(&pk, MBEDTLS_MD_SHA256,
        hash, sizeof(hash), sig, sig_len);

    mbedtls_pk_free(&pk);
    return result; // 0 = valid, non-zero = failed
}
A few things worth calling out:
- Use mbedTLS (bundled with STM32Cube firmware packages) instead of OpenSSL on the device. OpenSSL is designed for Linux/desktop systems and won’t run on a bare-metal Cortex-M. The original tutorial’s code showing
#include "openssl/rsa.h"on the MCU was incorrect. - The STM32F7 has a hardware hash accelerator (HASH peripheral) that can compute SHA-256 significantly faster than software. Use
HAL_HASH_SHA256_Start()if performance matters. - Store the public key as a DER-encoded byte array compiled into the bootloader—not as a PEM file on a filesystem.
Step 5: Jump to the Application
If verification passes, the bootloader hands off execution to the application firmware:
void boot_application(uint32_t app_addr) {
    // Verify the stack pointer value at app_addr is valid
    uint32_t app_sp = *((volatile uint32_t *)app_addr);
    if ((app_sp & 0x2FFE0000) != 0x20000000) {
        // Invalid stack pointer - don't jump
        Error_Handler();
        return;
    }

    // Get the reset handler address
    uint32_t app_reset = *((volatile uint32_t *)(app_addr + 4));

    // Disable interrupts, reset peripherals
    HAL_RCC_DeInit();
    HAL_DeInit();
    __disable_irq();

    // Set the vector table to the application's
    SCB->VTOR = app_addr;

    // Set the stack pointer and jump
    __set_MSP(app_sp);
    void (*reset_handler)(void) = (void (*)(void))app_reset;
    reset_handler();
}
Watch out: always validate the stack pointer before jumping. If the application region is erased or corrupted, jumping to garbage will hard-fault instantly. Also, remember to disable interrupts and deinitialize peripherals—otherwise the application inherits a messy hardware state from the bootloader.
Consider MCUboot for Production
Rolling your own bootloader is great for learning, but for production systems, take a serious look at MCUboot. It’s a well-established open-source secure bootloader that supports both RSA and ECDSA signature verification, image slots for A/B updates, rollback protection, and hardware key storage. It integrates with Zephyr RTOS v3.7+ natively and can be ported to STM32 with STM32Cube or bare-metal setups. Using a proven bootloader saves you from subtle security bugs that are easy to introduce in custom implementations.
Troubleshooting
- Signature verification always fails: Confirm the public key in your bootloader matches the private key you signed with. Also check that you’re hashing exactly the same bytes that were signed—off-by-one errors in the image size are common.
- Application doesn’t start after verification: Verify the application’s vector table address matches
APP_ADDRESS. Check that the application’s linker script places the vector table at the correct offset. - mbedTLS fails to parse the key: Make sure you’re using DER format (not PEM) for the embedded key, and that the array size is correct. Use
xxd -i public_key.derto generate the C array. - Flash write-protection issues: If you enable write protection on the bootloader sectors via option bytes, make sure you can still program the application sectors. Double-check the sector mapping for your specific STM32F7 variant.
- Hard fault on application jump: The most common cause is a missing
SCB->VTORupdate or incorrect stack pointer. Verify with a debugger that the values atAPP_ADDRESSandAPP_ADDRESS + 4look reasonable (valid RAM address and valid flash address, respectively).
Key Takeaways
Secure boot on STM32F7 boils down to three things: sign the firmware on your build machine, embed the public key in a write-protected bootloader, and verify the signature before jumping to the application. ECC (P-256) is the better choice for new designs due to smaller keys and faster verification on Cortex-M hardware. Use mbedTLS on the device (not OpenSSL), leverage the STM32F7’s hardware crypto accelerators when available, and seriously consider MCUboot if you’re heading toward production. Keep your private keys locked down—if they leak, your entire chain of trust is broken.