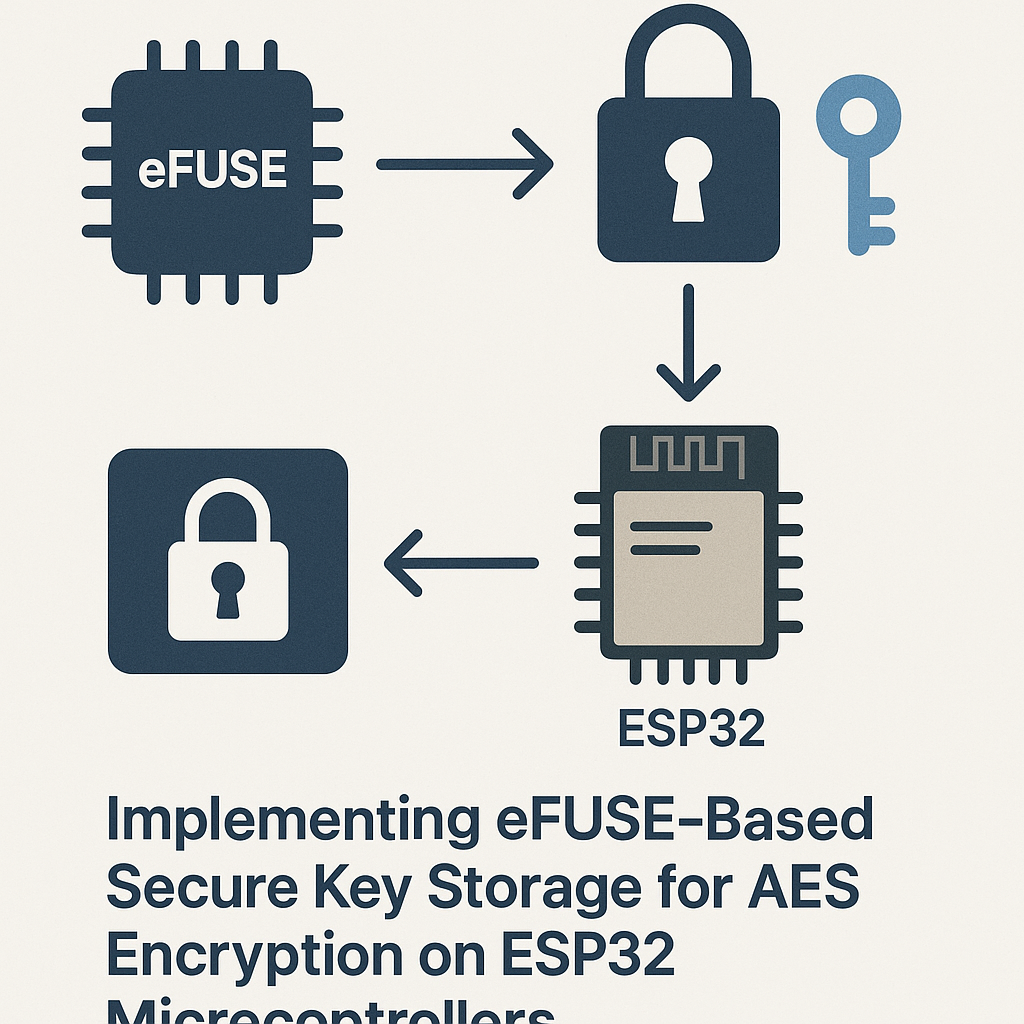
Implementing eFUSE-based Secure Key Storage for AES Encryption on ESP32 Microcontrollers
In this tutorial, we will explore how to implement eFUSE-based secure key storage for AES encryption on ESP32 microcontrollers. This method ensures that sensitive encryption keys are securely stored and accessed, enhancing the security of your IoT applications. By the end of this guide, you will have a clear understanding of the prerequisites, required parts, and step-by-step instructions to implement this solution.
Prerequisites
- Basic knowledge of C/C++ programming
- Familiarity with ESP32 microcontroller and its development environment
- ESP-IDF (Espressif IoT Development Framework) installed
- Access to an ESP32 development board
- A computer with USB ports for programming the ESP32
Parts/Tools
- ESP32 Development Board
- USB Cable for programming
- Computer with ESP-IDF installed
- Text Editor or IDE (e.g., Visual Studio Code)
Steps
- Set up the ESP-IDF environment:
- Install the ESP-IDF by following the official guide on the Espressif website.
- Open your terminal and run the following command to set up the environment:
source $HOME/esp/esp-idf/export.sh
- Create a new ESP-IDF project:
- Navigate to your preferred directory.
- Run the following command to create a new project:
idf.py create-project my_secure_key_storage - Change into the project directory:
cd my_secure_key_storage
- Implement eFUSE secure key storage:
- Open the main application file (usually
main.corapp_main.c). - Include the necessary headers:
#include "esp_efuse.h" #include "esp_system.h" #include "esp_log.h" - Define your AES key:
const uint8_t aes_key[16] = {0x00, 0x01, 0x02, 0x03, 0x04, 0x05, 0x06, 0x07, 0x08, 0x09, 0x0A, 0x0B, 0x0C, 0x0D, 0x0E, 0x0F}; - Write the key to eFUSE:
esp_err_t ret = esp_efuse_write_key(ESP_EFUSE_KEY0, aes_key); if (ret != ESP_OK) { ESP_LOGE("eFUSE", "Failed to write key"); } - Read the key back from eFUSE:
uint8_t read_key[16];
ret = esp_efuse_read_key(ESP_EFUSE_KEY0, read_key);
if (ret != ESP_OK) {
    ESP_LOGE("eFUSE", "Failed to read key");
}
- Open the main application file (usually
- Compile and flash the application:
- Connect your ESP32 board to your computer using a USB cable.
- Run the following command to build the project:
idf.py build - Flash the project to the ESP32:
idf.py -p (YOUR_PORT) flash
Troubleshooting
- Issue: Unable to write to eFUSE.
- Solution: Ensure you have the correct permissions and that the eFUSE is not already programmed.
- Issue: Reading the key returns an error.
- Solution: Verify that you are using the correct key address and that the key has been successfully written.
- Issue: Compilation errors.
- Solution: Check if all required libraries are included in your project and that you are using a compatible version of ESP-IDF.
Conclusion
In this tutorial, we successfully implemented eFUSE-based secure key storage for AES encryption on the ESP32 microcontroller. By following these steps, you have ensured that sensitive encryption keys are securely stored, improving the security of your applications. Remember to test thoroughly and monitor for any issues as you integrate this solution into your projects.


