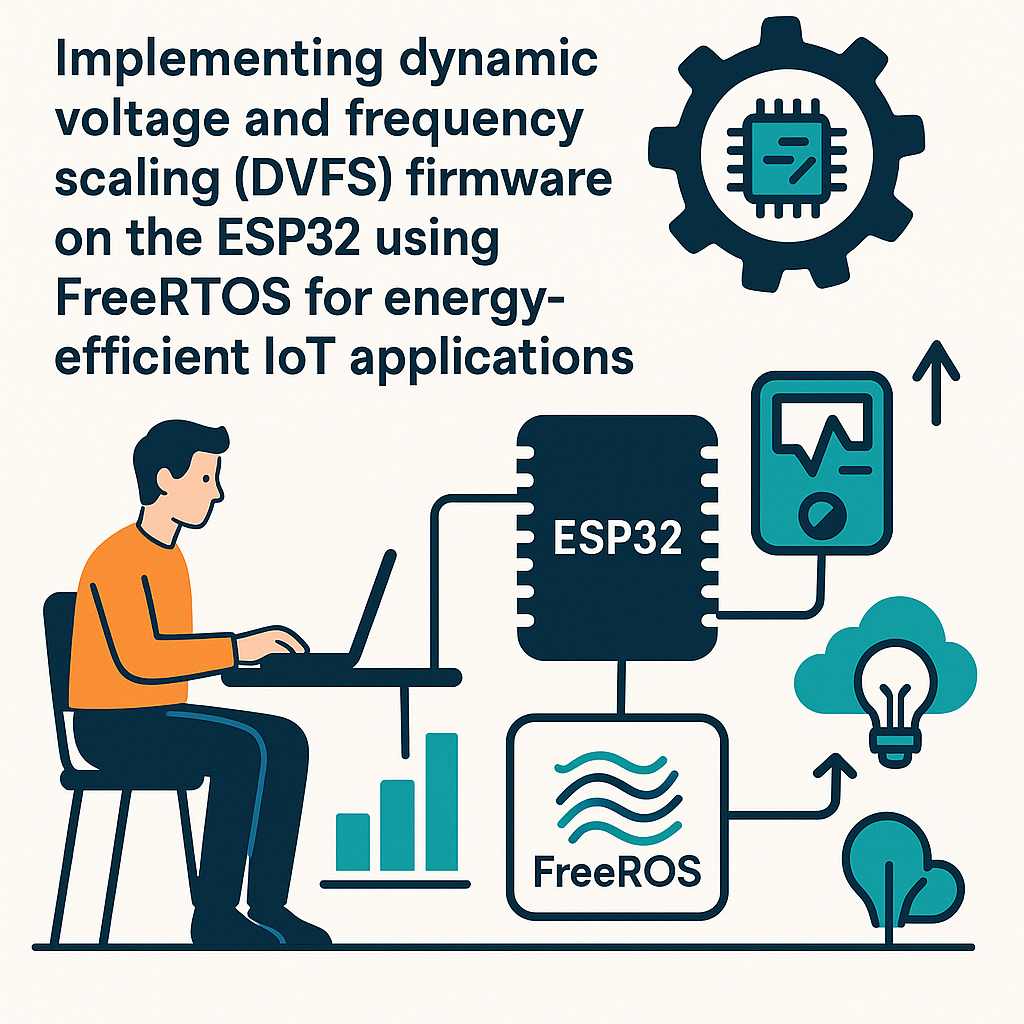
How to Implement DVFS Firmware on ESP32 with FreeRTOS for IoT Energy Efficiency
What Is DVFS and Why Bother?
Dynamic Voltage and Frequency Scaling (DVFS) is how you trade clock speed for power savings at runtime. The idea is straightforward: when your ESP32 isn't doing much, drop the CPU frequency. When a burst of work comes in, ramp it back up. On a battery-powered IoT device, this can meaningfully extend battery life -- sometimes doubling it, depending on your workload pattern.
The ESP32 has built-in support for dynamic frequency scaling through ESP-IDF's power management APIs. We'll use FreeRTOS tasks to monitor system load and adjust the CPU frequency accordingly. This is a much better approach than the LEDC PWM-based examples you might see floating around -- those control peripheral frequencies, not the actual CPU clock.
What You'll Need
- ESP32 development board (DevKitC, NodeMCU-32S, or similar)
- USB cable for programming and power
- ESP-IDF v5.3+ installed (this is the proper way to do DVFS on ESP32)
- Basic C programming knowledge
- Familiarity with FreeRTOS concepts (tasks, delays, tick counts)
While you can use Arduino IDE 2.x with the ESP32 Arduino core v3.x, I strongly recommend ESP-IDF for this project. The Arduino abstraction layer hides most of the power management APIs you'll need, and the ESP-IDF menuconfig gives you direct control over the power management settings.
Configuring Power Management in ESP-IDF
First, create a new ESP-IDF project. In your terminal:
idf.py create-project dvfs_example
cd dvfs_example
Before writing any code, you need to enable power management in the SDK configuration. Run idf.py menuconfig and navigate to:
Component config → Power Management → Enable power management
Component config → FreeRTOS → Tick rate (Hz) → 1000
Enabling power management allows ESP-IDF to dynamically switch between CPU frequencies. The FreeRTOS tick rate at 1000Hz gives you millisecond-resolution timing for your tasks.
Setting Up Dynamic Frequency Scaling
The ESP32 supports several CPU frequencies: 240MHz, 160MHz, 80MHz, 40MHz, 20MHz, and 10MHz. ESP-IDF's power management framework lets you define a max and min frequency, then automatically scales between them based on what locks are held.
Here's the core setup in your main.c:
#include <stdio.h>
#include "freertos/FreeRTOS.h"
#include "freertos/task.h"
#include "esp_pm.h"
#include "esp_log.h"
#include "esp_timer.h"
#include "esp_sleep.h"

static const char *TAG = "DVFS";

void configure_power_management(void) {
    esp_pm_config_t pm_config = {
        .max_freq_mhz = 240,
        .min_freq_mhz = 80,
        .light_sleep_enable = false  // Enable later once stable
    };

    esp_err_t ret = esp_pm_configure(&pm_config);
    if (ret == ESP_OK) {
        ESP_LOGI(TAG, "Power management configured: %d-%d MHz",
                 pm_config.min_freq_mhz, pm_config.max_freq_mhz);
    } else {
        ESP_LOGE(TAG, "Failed to configure PM: %s", esp_err_to_name(ret));
    }
}
This tells the ESP32 it can run anywhere between 80MHz and 240MHz. When no power management locks are held and FreeRTOS is idle, the system drops to the minimum frequency automatically.
Using Power Management Locks
The ESP-IDF power management system works on a lock-based model. When your code needs high performance, you acquire a lock. When you're done, you release it. The system automatically scales the frequency based on active locks.
esp_pm_lock_handle_t freq_lock;

void init_pm_lock(void) {
    esp_pm_lock_create(ESP_PM_CPU_FREQ_MAX, 0, "high_perf", &freq_lock);
}

void high_performance_work(void) {
    // Acquire lock -- CPU goes to max frequency
    esp_pm_lock_acquire(freq_lock);

    // Do your intensive work here (sensor fusion, FFT, encryption, etc.)
    do_heavy_computation();

    // Release lock -- CPU can drop back down
    esp_pm_lock_release(freq_lock);
}
This is the right way to do DVFS on ESP32. Don't try to call frequency-setting functions directly in a loop -- the lock-based approach lets the power management framework make smart decisions and handle transitions safely.
A Practical FreeRTOS Task Example
Here's a realistic pattern: a sensor monitoring task that wakes up periodically, grabs a PM lock for the active processing window, then releases it and goes back to waiting:
void sensor_task(void *pvParameters) {
    esp_pm_lock_handle_t task_lock;
    esp_pm_lock_create(ESP_PM_CPU_FREQ_MAX, 0, "sensor_task", &task_lock);

    while (1) {
        // Acquire lock for active processing
        esp_pm_lock_acquire(task_lock);

        // Read sensors, process data, transmit results
        float temp = read_temperature_sensor();
        float humidity = read_humidity_sensor();
        ESP_LOGI(TAG, "Temp: %.1f C, Humidity: %.1f%%", temp, humidity);
        transmit_data(temp, humidity);

        // Release lock -- CPU can scale down during sleep
        esp_pm_lock_release(task_lock);

        // Sleep for 10 seconds -- CPU runs at min frequency here
        vTaskDelay(pdMS_TO_TICKS(10000));
    }
}

void app_main(void) {
    configure_power_management();

    xTaskCreate(sensor_task, "sensor_task", 4096, NULL, 5, NULL);

    ESP_LOGI(TAG, "DVFS sensor logger started");
}
During that 10-second sleep, the CPU drops to 80MHz (or lower if you configure it). When the task wakes up and grabs the lock, it jumps to 240MHz for the brief burst of sensor reading and data transmission. This duty-cycle pattern is where DVFS really shines for IoT.
Monitoring Power Consumption
To actually verify your DVFS setup is saving power, you need to measure it. A USB power meter (like the one from Nordic Semiconductor's PPK2) on the 5V input gives you real-time current draw. You should see the current drop noticeably during idle periods and spike during active processing.
You can also log the current frequency from code:
int freq = esp_clk_cpu_freq() / 1000000;
ESP_LOGI(TAG, "Current CPU freq: %d MHz", freq);
Troubleshooting
- esp_pm_configure() returns ESP_ERR_NOT_SUPPORTED: You forgot to enable power management in menuconfig. Go back and check Component config → Power Management.
- CPU frequency never drops: Something is holding a PM lock. Use
esp_pm_dump_locks(stdout)to see which locks are active. Peripheral drivers (UART, SPI) often acquire locks automatically while active. - System crashes when enabling light sleep: Start with
light_sleep_enable = falseuntil your basic DVFS works. Light sleep adds complexity around wake sources and GPIO state retention. Add it after you've validated the frequency scaling alone. - Build errors about missing esp_pm.h: Make sure you're using ESP-IDF v5.3+ and that power management is enabled in menuconfig. The PM APIs aren't available in the default build config.
- FreeRTOS task stack overflow: If your task does string formatting or logging, 2048 bytes might not be enough. Bump it to 4096. Use
uxTaskGetStackHighWaterMark()to check how close you are to the limit.
Next Steps
Once you have basic DVFS working, consider enabling automatic light sleep for even deeper power savings during idle periods. You can also experiment with different min/max frequency combinations -- 10MHz minimum saves more power but increases wake latency. For production IoT devices, combine DVFS with deep sleep for the ultimate battery life: use deep sleep for long idle periods (minutes to hours) and DVFS for the active duty cycles.