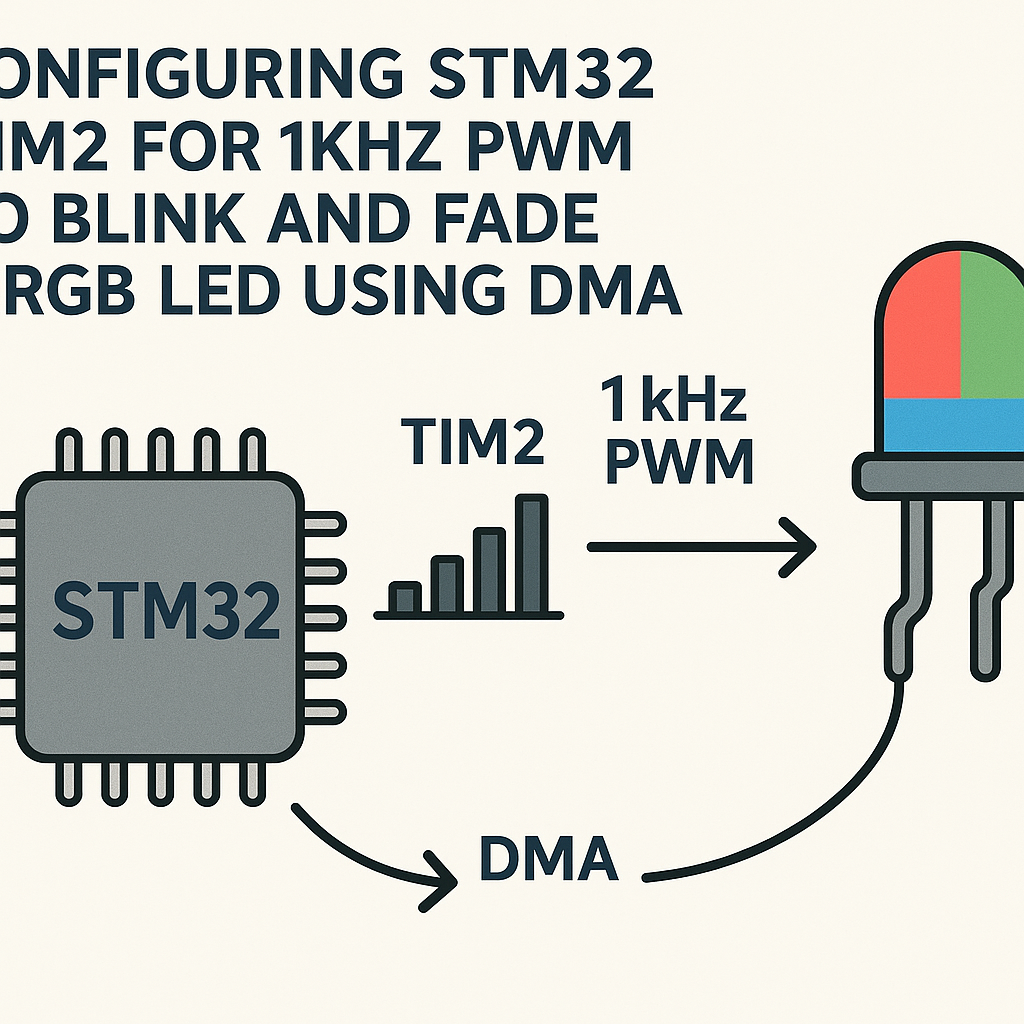
How to Configure STM32 TIM2 for 1kHz PWM to Control RGB LED with DMA
Introduction
PWM is the standard way to control LED brightness, but doing it manually -- updating duty cycles in a loop with delays -- wastes CPU time and gives you jittery fading effects. DMA changes the game by automatically feeding new duty cycle values to the timer, leaving your CPU free to do other things. The result is buttery-smooth color transitions with zero processor overhead during the fade.
Here you'll set up TIM2 on an STM32F4 to output three PWM channels at 1kHz (one per RGB color), then use DMA to update all three duty cycles from a buffer in memory. Once the DMA transfer is running, the LED fades happen entirely in the background.
Prerequisites
- Basic familiarity with STM32 development and the HAL library
- STM32 development board (STM32F4Discovery, Nucleo-F446RE, or similar)
- STM32CubeIDE v1.16+ installed (includes STM32CubeMX)
- Common cathode RGB LED (or three separate LEDs)
- 220 Ohm resistors (one per color channel)
- Breadboard and jumper wires
Parts/Tools
- STM32F4 development board
- Common cathode RGB LED
- 220 Ohm resistors (3 pieces)
- Jumper wires and breadboard
- STM32CubeIDE v1.16+
Steps
- Configure TIM2 for PWM in STM32CubeMX
- Open STM32CubeIDE and create a new STM32 project. Select your MCU or board.
- In the CubeMX pinout view, find TIM2 under Timers. Set Channel 1, Channel 2, and Channel 3 to "PWM Generation CH1/CH2/CH3". This routes the PWM outputs to PA0, PA1, and PA2 (default alternate function mapping on most F4 chips -- check your specific datasheet).
- Under TIM2 Configuration → Parameter Settings, set the prescaler and auto-reload to get a 1kHz PWM frequency. Assuming an 84 MHz APB1 timer clock:
This gives you a 0-999 range for duty cycle values, which is plenty of resolution for LED dimming.Prescaler = 83 // Timer counts at 1 MHz (84MHz / (83+1)) Counter Period = 999 // Overflow every 1ms -> 1kHz PWM Counter Mode = Up - Set the PWM Mode to "PWM Mode 1" for all three channels. Leave pulse values at 0 for now.
- Enable DMA for TIM2
- Still in CubeMX, go to DMA Settings for TIM2. Click "Add" and select TIM2_UP (the update event trigger). This fires a DMA request every time TIM2's counter resets -- once per PWM period.
- Configure the DMA stream:
- Direction: Memory to Peripheral
- Mode: Circular (so it automatically loops back to the start of your buffer)
- Data Width: Word (32-bit, matching the CCR register width)
- Memory Increment: Enable (to step through your array)
- Peripheral Increment: Disable
- Watch out: the DMA destination address needs to point to CCR1, and with memory increment enabled across 3 words, it'll write to CCR1, CCR2, and CCR3 sequentially. This works because the CCR registers are contiguous in memory on STM32F4. That's what makes this whole trick possible.
- Generate the code.
- Write the PWM and DMA Initialization Code
- Open the generated project in STM32CubeIDE. In
main.c, define your color buffer. Each element maps to a PWM channel: - Start the PWM channels after the auto-generated init code:
- Start the DMA transfer. This links your buffer to the CCR registers:
- That last line is easy to forget. Without it, TIM2 never actually triggers the DMA -- your buffer values just sit there doing nothing.
// Duty cycle values: 0-999 maps to 0-100% brightness uint32_t rgb_buffer[3] = {0, 0, 0}; // [Red, Green, Blue]// Start PWM on all three channels HAL_TIM_PWM_Start(&htim2, TIM_CHANNEL_1); // Red HAL_TIM_PWM_Start(&htim2, TIM_CHANNEL_2); // Green HAL_TIM_PWM_Start(&htim2, TIM_CHANNEL_3); // Blue// Start DMA: transfers rgb_buffer[0..2] -> CCR1, CCR2, CCR3 // on every TIM2 update event HAL_DMA_Start(&hdma_tim2_up, (uint32_t)rgb_buffer, (uint32_t)&TIM2->CCR1, 3); // Enable the DMA request from TIM2 __HAL_TIM_ENABLE_DMA(&htim2, TIM_DMA_UPDATE); - Open the generated project in STM32CubeIDE. In
- Create Color Fade Functions
- Now that DMA is running, all you need to do is update the buffer values and the LED changes on the next PWM cycle:
- For a smooth fade effect, sweep the values in your main loop:
- Since DMA handles the actual register writes, these buffer updates are essentially instant. The CPU barely notices.
void set_rgb(uint32_t red, uint32_t green, uint32_t blue) { rgb_buffer[0] = red; // 0-999 rgb_buffer[1] = green; rgb_buffer[2] = blue; }// Fade red from off to full brightness for (uint32_t i = 0; i <= 999; i++) { set_rgb(i, 0, 0); HAL_Delay(2); // ~2 seconds total fade } // Crossfade red to green for (uint32_t i = 0; i <= 999; i++) { set_rgb(999 - i, i, 0); HAL_Delay(2); } // Crossfade green to blue for (uint32_t i = 0; i <= 999; i++) { set_rgb(0, 999 - i, i); HAL_Delay(2); } - Build and Flash
- Wire up your RGB LED: connect each color anode through a 220 Ohm resistor to PA0 (red), PA1 (green), and PA2 (blue). Connect the common cathode to GND.
- Build the project (Ctrl+B) and flash it to your board (Run → Debug or Run → Run).
- You should see smooth color fading on the LED. If one color is noticeably dimmer, you may need to adjust the max duty cycle for that channel -- different LED dies have different forward voltages and efficiencies.
Troubleshooting
- PWM outputs are flat (always high or always low): Double-check that you selected "PWM Generation" mode (not just "Output Compare") in CubeMX, and that the GPIO alternate function mapping is correct for your specific chip. Also verify the timer clock is actually enabled -- CubeMX usually handles this, but it's worth confirming in the clock configuration tab.
- LED doesn't light up: Verify your wiring polarity. Common cathode LEDs need the cathode to GND; common anode LEDs need a different circuit (and inverted PWM logic). Also check that your resistor values aren't too high -- 220 Ohm is standard but some LEDs need lower.
- Fading is choppy or has visible steps: Make sure your DMA mode is set to Circular. In Normal mode, DMA stops after one transfer and your duty cycles freeze. Also check that
__HAL_TIM_ENABLE_DMAis called -- without it, DMA never triggers. - Only one color channel works: The DMA transfer count must be exactly 3 (for three CCR registers). If the peripheral address isn't pointing to CCR1 specifically, the sequential write to CCR1/CCR2/CCR3 won't work correctly. Verify the base address in your DMA configuration.
- Build errors about undefined handles: Make sure
htim2andhdma_tim2_upare declared as extern in your file if you're writing code outside ofmain.c. CubeMX generates these in the auto-generated sections.
Going Further
This setup is a building block for more advanced projects. You can expand the DMA buffer to hold an entire animation sequence (hundreds of RGB frames), and the DMA controller will cycle through the whole thing without any CPU involvement. For even fancier effects, look into using DMA double-buffering -- you fill one buffer while the other plays back, giving you infinite-length animations with minimal CPU usage. This same DMA-to-timer technique also works for driving WS2812B addressable LED strips, servo arrays, or any other application where you need precise, hands-free PWM updates.