How-To-Tutorials · October 12, 2025
Deploy TensorFlow Lite Micro Voice Recognition on ESP32 with I2S Mic Input
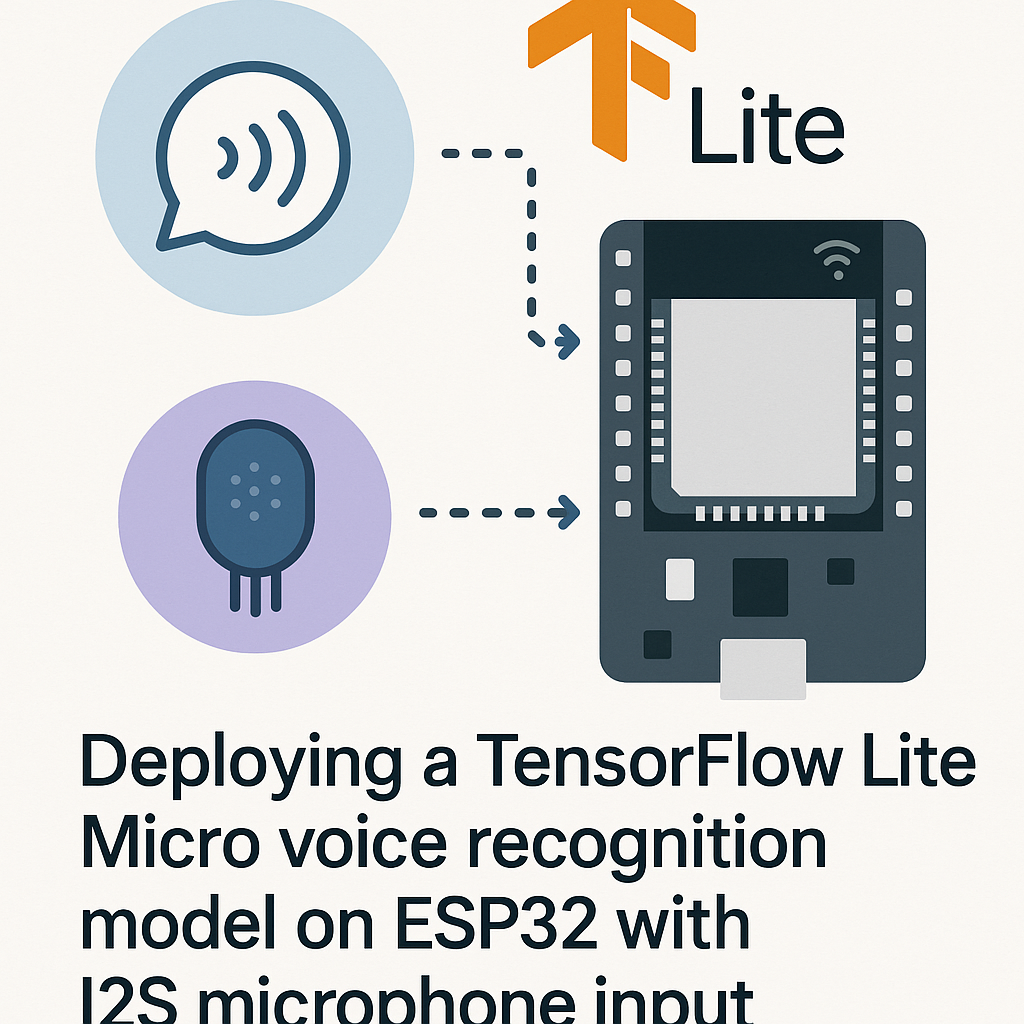
Deploying a TensorFlow Lite Micro Voice Recognition Model on ESP32 with I2S Microphone Input
In this tutorial, we will guide you through the process of deploying a TensorFlow Lite Micro voice recognition model on an ESP32 microcontroller using an I2S microphone as input. This project will help you build a voice recognition system that can run locally on the ESP32 without requiring an internet connection.
Prerequisites
- Basic knowledge of programming in C/C++.
- Familiarity with Arduino IDE and ESP32 development.
- Installed Arduino IDE with ESP32 board support.
- TensorFlow Lite Micro library.
- I2S microphone (e.g., INMP441).
- ESP32 development board.
Parts/Tools
- ESP32 Development Board
- I2S Microphone Module (e.g., INMP441)
- Jumper wires
- Arduino IDE
- TensorFlow Lite Micro library (installed via Arduino Library Manager)
Steps
- Set Up Arduino IDE for ESP32
- Open Arduino IDE and go to File > Preferences.
- In the “Additional Board Manager URLs” field, add the ESP32 board URL:
https://dl.espressif.com/dl/package_esp32_index.json - Go to Tools > Board > Board Manager, search for “ESP32”, and install the latest version.
- Wire the I2S Microphone to ESP32
- Connect the INMP441 microphone pins to the ESP32 as follows:
- VCC to 3.3V
- GND to GND
- SD to GPIO 34
- LRCK to GPIO 25
- BCLK to GPIO 26
- Connect the INMP441 microphone pins to the ESP32 as follows:
- Install TensorFlow Lite Micro Library
- In Arduino IDE, navigate to Tools > Manage Libraries.
- Search for “TensorFlow Lite Micro” and install it.
- Prepare the Voice Recognition Model
- Train your voice recognition model using TensorFlow and convert it to TensorFlow Lite format.
- Use the TensorFlow Lite Converter to generate the model files.
- Your model should be a `.tflite` file.
- Write the ESP32 Code
- Create a new sketch in Arduino IDE and include the necessary libraries:
#include #include #include #include #include #include #include - Initialize I2S for the microphone input:
void setup() { i2s_config_t i2s_config = { .intr_alloc = 0, .mode = I2S_MODE_MASTER | I2S_MODE_RX, .sample_rate = 44100, .bits_per_sample = I2S_BITS_PER_SAMPLE_16BIT, .channel_format = I2S_CHANNEL_FMT_RIGHT_LEFT, .communication_format = I2S_COMM_FORMAT_I2S, .dma_buf_count = 8, .dma_buf_len = 1024, .use_apll = false, }; i2s_driver_install(I2S_NUM_0, &i2s_config, 0, NULL); } - Load the TensorFlow Lite model and set up the interpreter:
const tflite::Model* model = tflite::GetModel(your_model_data); tflite::MicroInterpreter interpreter(model, tensor_arena, kTensorArenaSize, resolver, &error_reporter); - Implement the loop function to read audio data and process it:
void loop() {
    int16_t audio_buffer[buffer_size];
    size_t bytes_read;
    i2s_read(I2S_NUM_0, audio_buffer, sizeof(audio_buffer), &bytes_read, portMAX_DELAY);

    // Process audio with TensorFlow Lite
    interpreter.Invoke();
}
- Create a new sketch in Arduino IDE and include the necessary libraries:
- Upload and Test
- Connect your ESP32 to your computer and select the correct board and port in Arduino IDE.
- Click on the upload button to compile and upload your code.
- Open the Serial Monitor to view the output and test the voice recognition.
Troubleshooting
- Microphone Not Responding: Ensure all connections are secure and the microphone is powered.
- Model Not Loading: Verify that the model path and file are correctly specified in the code.
- Audio Quality Issues: Check the I2S configuration and ensure the sample rate matches your model’s requirements.
Conclusion
By following this tutorial, you have successfully deployed a TensorFlow Lite Micro voice recognition model on an ESP32 using an I2S microphone. This project can be expanded for various applications, such as voice-activated controls or custom voice commands. Experiment with different models and configurations to enhance your project further!