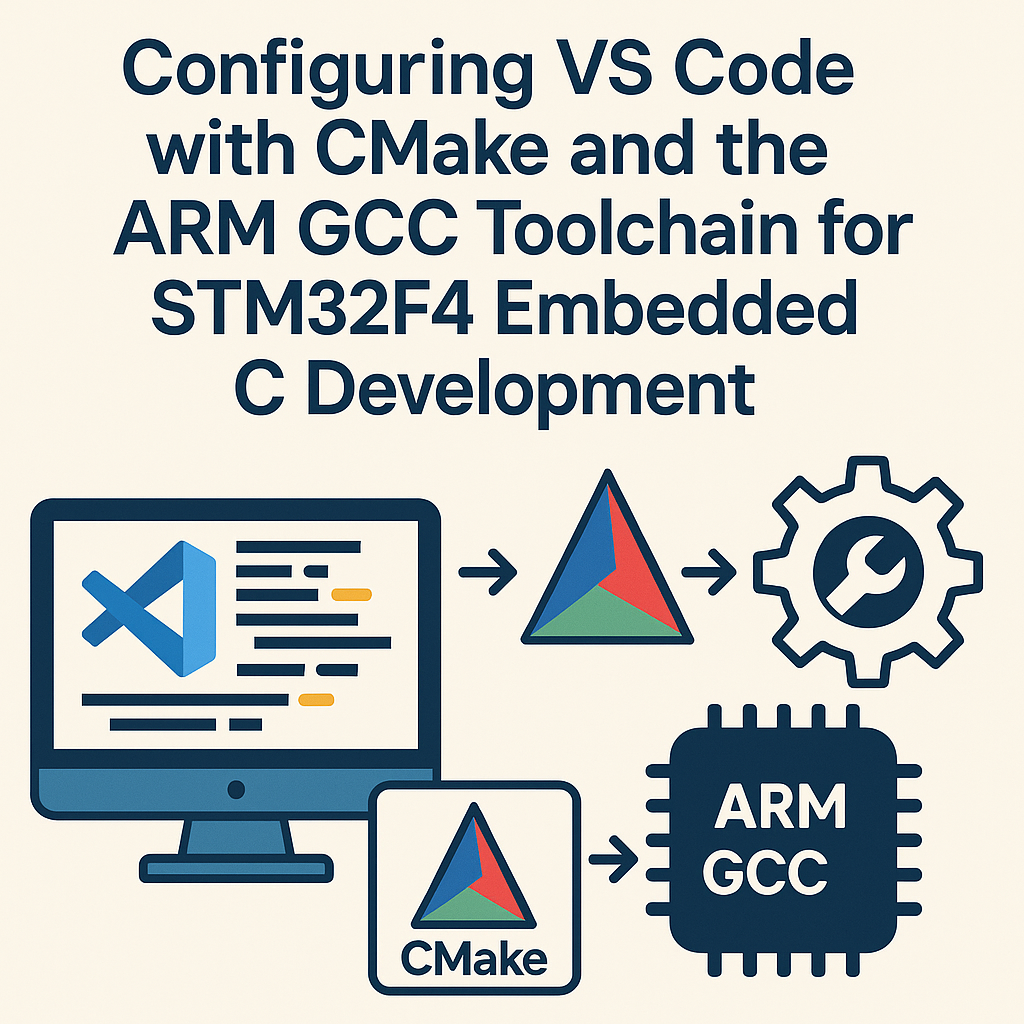
Configuring VS Code with CMake and the ARM GCC Toolchain for STM32F4 Embedded C Development
In this tutorial, you will learn how to set up Visual Studio Code (VS Code) for developing embedded C applications for the STM32F4 microcontroller series using CMake and the ARM GCC toolchain. This setup will allow you to efficiently manage your projects and build your firmware directly from VS Code.
Prerequisites
- Basic knowledge of C programming and embedded systems.
- Installed Visual Studio Code on your machine.
- Access to an STM32F4 microcontroller board.
- Installed CMake (version 3.10 or later).
- Installed ARM GCC toolchain.
Parts/Tools
- Visual Studio Code
- CMake
- ARM GCC Toolchain
- STM32F4 microcontroller board (e.g., STM32F4 Discovery)
- ST-Link Programmer (for flashing the board)
Steps
- Install the ARM GCC Toolchain
- Download the ARM GCC toolchain from the official ARM website or use a package manager.
- Follow the installer instructions to complete the installation.
- Verify installation by opening a terminal and running:
arm-none-eabi-gcc --version - Install CMake
- Download and install CMake from the official CMake website.
- Verify the installation by running:
cmake --version - Set up Visual Studio Code
- Open Visual Studio Code and install the following extensions:
- CMake Tools
- C/C++ (by Microsoft)
- Code Runner (optional for quick execution)
- Open Visual Studio Code and install the following extensions:
- Create a New CMake Project
- Create a new directory for your project and navigate to it in the terminal:
mkdir my_stm32_project && cd my_stm32_project - Create a basic directory structure:
- Create a simple main C file in the src directory:
- Create CMakeLists.txt
- In the root of your project, create a file named CMakeLists.txt with the following content:
cmake_minimum_required(VERSION 3.10) project(my_stm32_project C) set(CMAKE_C_STANDARD 11) include_directories(include) add_executable(my_stm32_project src/main.c) - Configure CMake in VS Code
- Open the command palette (Ctrl+Shift+P) and type CMake: Configure.
- Select the ARM GCC toolchain as the kit.
- VS Code will generate the necessary build files in a build directory.
- Build the Project
- Open the command palette again and select CMake: Build.
- Check the output for any errors. If successful, the output binary will be available in the build directory.
- Flash the Firmware to the STM32F4
- Connect your STM32 board to your computer using the ST-Link programmer.
- Use a flashing tool like STM32CubeProgrammer or command line to flash the binary:
stm32programmer_cli -c port=SWD -d build/my_stm32_project.bin
mkdir src include#include <stm32f4xx.h>
int main(void) {
// Your code here
while (1) {}
}Troubleshooting
- Issue: “CMake configuration failed.”
- Solution: Ensure that CMake and the ARM toolchain are installed correctly and that the paths are set in your system environment variables.
- Issue: “Build fails with undefined references.”
- Solution: Check your linker settings and ensure that you have included the necessary STM32 libraries in your project.
- Issue: “Cannot connect to the STM32 device.”
- Solution: Verify the connection of your ST-Link programmer and ensure the correct board is selected in your flashing tool.
Conclusion
By following these steps, you have successfully configured Visual Studio Code with CMake and the ARM GCC toolchain for STM32F4 embedded C development. This setup allows for efficient coding, building, and flashing of your embedded applications. Happy coding!


