How-To-Tutorials · October 10, 2025
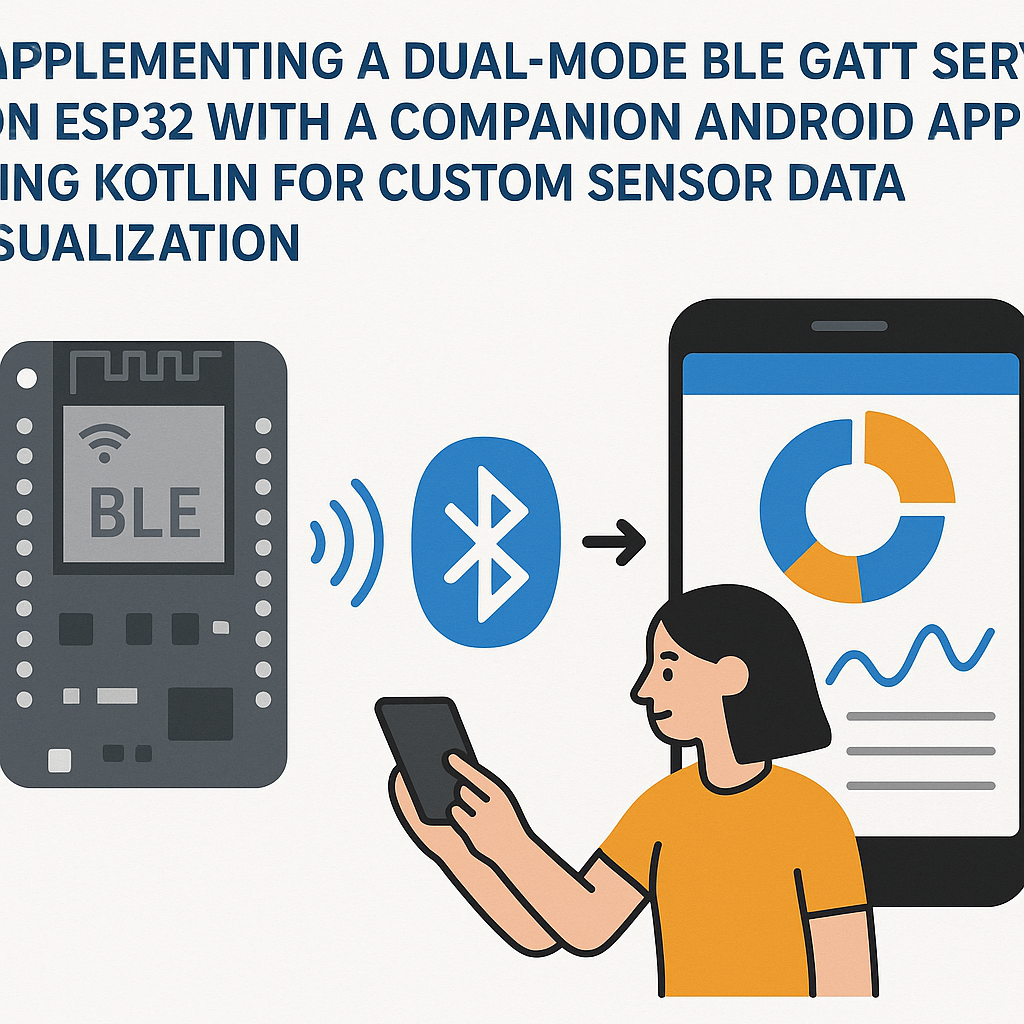
Build a Dual-Mode BLE GATT Server on ESP32 with Android App in Kotlin
Introduction
This tutorial will guide you through the implementation of a dual-mode Bluetooth Low Energy (BLE) GATT server on the ESP32 microcontroller, paired with a companion Android app developed in Kotlin. The aim is to visualize custom sensor data in real-time. You will learn how to set up the ESP32, create a GATT server, and develop an Android app to connect and display the data.
Prerequisites
- Basic knowledge of Arduino programming and the ESP32 platform
- Familiarity with Kotlin programming and Android development
- ESP32 board and USB cable for connection
- Android Studio installed on your computer
- Android device for testing
Parts/Tools
- ESP32 Development Board
- Jumper wires (if needed)
- Temperature or humidity sensor (e.g., DHT11)
- Arduino IDE
- Android Studio
Steps
1. Set Up the ESP32 Environment
- Install the ESP32 board in Arduino IDE:
- Open Arduino IDE and navigate to File > Preferences.
- Add the following URL to the Additional Board Manager URLs field:
https://dl.espressif.com/dl/package_esp32_index.json - Go to Tools > Board > Board Manager, search for “ESP32”, and install.
2. Connect the Sensor to the ESP32
- Wire the DHT11 sensor to the ESP32:
- VCC to 3.3V
- GND to GND
- Data pin to GPIO 22
3. Write the ESP32 GATT Server Code
- Open a new sketch in Arduino IDE.
- Include the necessary libraries:
#include <BLEDevice.h> #include <BLEServer.h> #include <DHT.h> - Define the sensor and BLE characteristics:
#define DHTPIN 22 #define DHTTYPE DHT11 DHT dht(DHTPIN, DHTTYPE); BLECharacteristic *pCharacteristic; - Initialize the BLE server:
void setup() { Serial.begin(115200); dht.begin(); BLEDevice::init("ESP32_Sensor"); BLEServer *pServer = BLEDevice::createServer(); pCharacteristic = pServer->createCharacteristic( BLEUUID((uint16_t)0x2A6E), BLECharacteristic::PROPERTY_READ | BLECharacteristic::PROPERTY_NOTIFY ); - Create a loop to read sensor data and send it:
void loop() {
    float h = dht.readHumidity();
    float t = dht.readTemperature();
    String sensorData = String(t) + "," + String(h);
    pCharacteristic->setValue(sensorData.c_str());
    pCharacteristic->notify();
    delay(2000);
}
4. Upload the Code to ESP32
- Select the correct board and port from the Tools menu.
- Upload the sketch to the ESP32.
5. Develop the Android App in Kotlin
- Create a new project in Android Studio.
- Add the necessary dependencies in your build.gradle file:
implementation "com.android.support:appcompat-v7:28.0.0" implementation "com.polidea.rxandroidble2:rxandroidble:1.11.1" - Create the Bluetooth permissions in AndroidManifest.xml:
<uses-permission android:name="android.permission.BLUETOOTH"> <uses-permission android:name="android.permission.BLUETOOTH_ADMIN"> <uses-permission android:name="android.permission.ACCESS_FINE_LOCATION"> - Initialize Bluetooth and connect to the ESP32 device:
val bleScanner = RxBleClient.create(this) bleScanner.scanBleDevices() .subscribe { scanResult -> // Connect to the ESP32 } - Subscribe to GATT notifications to receive data:
val characteristic = // Get characteristic here
characteristic.observeValue()
    .subscribe { data ->
        // Update UI with sensor data
    }
Troubleshooting
- If you cannot see the ESP32 device in the Android app:
- Ensure the ESP32 is powered on and the code is running.
- Check that Bluetooth is enabled on your Android device.
- If the sensor data is not updating:
- Verify the wiring of the sensor to the ESP32.
- Check the serial output in Arduino IDE for any errors.
Conclusion
You have successfully implemented a dual-mode BLE GATT server on the ESP32 and created a companion Android app in Kotlin to visualize custom sensor data. With this foundation, you can extend functionality by adding more sensors or improving the app’s UI for better user experience.