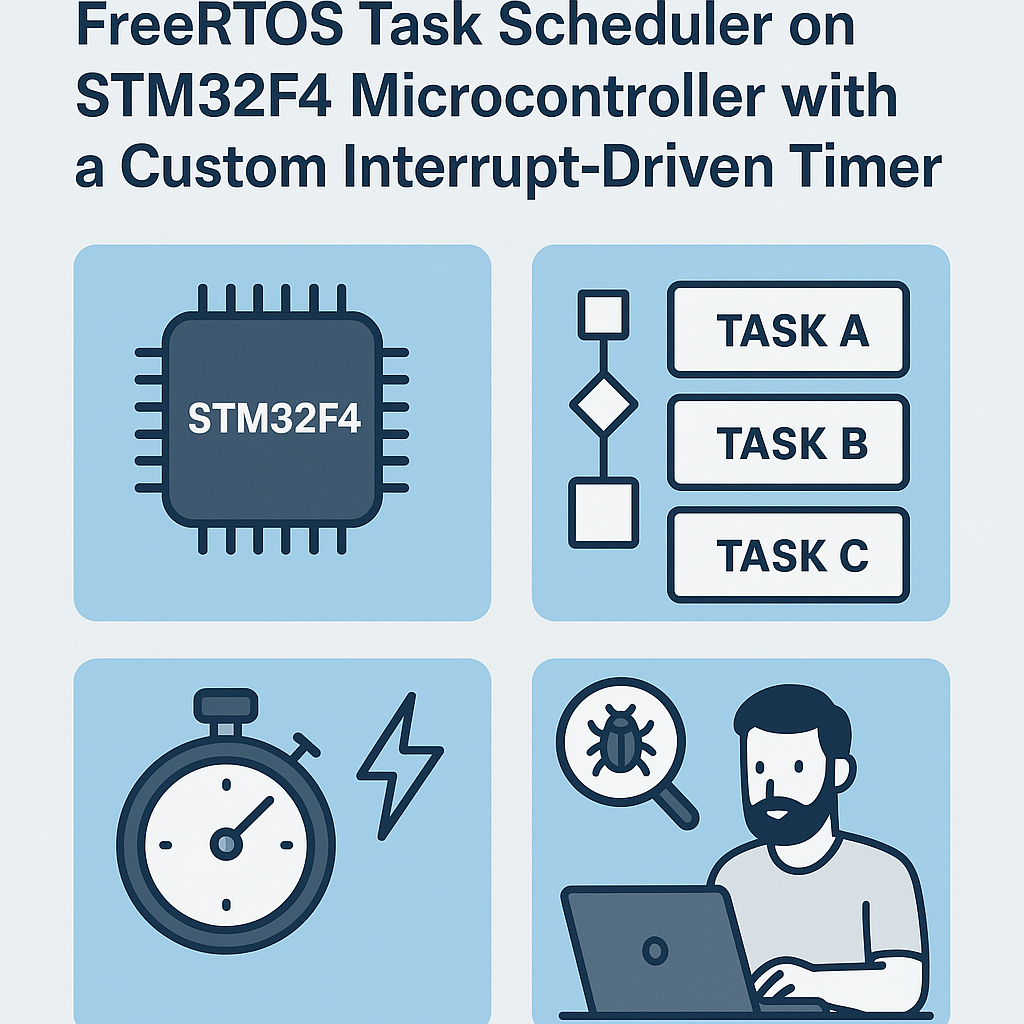
Implementing and Debugging a FreeRTOS Task Scheduler on STM32F4 Microcontroller with a Custom Interrupt-Driven Timer
This tutorial provides a step-by-step guide to implementing and debugging a FreeRTOS task scheduler on the STM32F4 microcontroller using a custom interrupt-driven timer. By the end of this tutorial, you will have a basic understanding of setting up FreeRTOS and how to use a timer for task scheduling.
Prerequisites
- Basic knowledge of C programming
- Familiarity with STM32F4 microcontroller
- STM32 development environment (e.g., STM32CubeIDE)
- FreeRTOS library files
- Basic understanding of interrupt handling
Parts/Tools
- STM32F4 development board
- USB to UART adapter (if necessary for debugging)
- JTAG/SWD programmer (such as ST-LINK)
- FreeRTOS library
- STM32CubeMX (optional for configuration)
Steps
- Set up the FreeRTOS environment:
- Download FreeRTOS from the official website.
- Include the FreeRTOS source files in your STM32CubeIDE project.
- Configure FreeRTOS settings in
FreeRTOSConfig.hfile.
- Configure the STM32F4 Timer:
- Open STM32CubeMX and create a new project for your STM32F4 board.
- Enable the timer peripheral (e.g., TIM2).
- Set the timer to interrupt mode with an appropriate frequency.
- Generate the code and open it in STM32CubeIDE.
- Implement the Timer Interrupt Handler:
- In the generated code, locate the timer interrupt handler function (e.g.,
TIM2_IRQHandler()). - In the handler, call the FreeRTOS tick function:
void TIM2_IRQHandler(void) { HAL_TIM_IRQHandler(&htim2); xPortSysTickHandler(); // Call the FreeRTOS tick handler } - In the generated code, locate the timer interrupt handler function (e.g.,
- Create FreeRTOS Tasks:
- Define your tasks in a new source file:
- In the main function, create the tasks:
void vTask1(void *pvParameters) { while(1) { // Task code here } }xTaskCreate(vTask1, "Task 1", configMINIMAL_STACK_SIZE, NULL, 1, NULL); vTaskStartScheduler(); // Start the scheduler - Debugging the Application:
- Build the project and upload it to the STM32F4 board.
- Set breakpoints in your tasks and the timer interrupt handler.
- Use the debugger to step through the code and monitor task execution.
Troubleshooting
- Task not executing: Ensure the task is created and the scheduler is started. Check priorities and stack size.
- Interrupt not triggering: Verify timer configuration in STM32CubeMX and ensure the correct timer is enabled in the code.
- FreeRTOS not responding: Check for stack overflows or watchdog timer resets. Increase stack size or adjust priorities if necessary.
Conclusion
In this tutorial, you successfully implemented a FreeRTOS task scheduler on the STM32F4 microcontroller using a custom interrupt-driven timer. By following these steps, you should now have a basic operational setup that can be expanded with additional tasks and functionalities. Don’t hesitate to explore more advanced FreeRTOS features to enhance your embedded applications.


