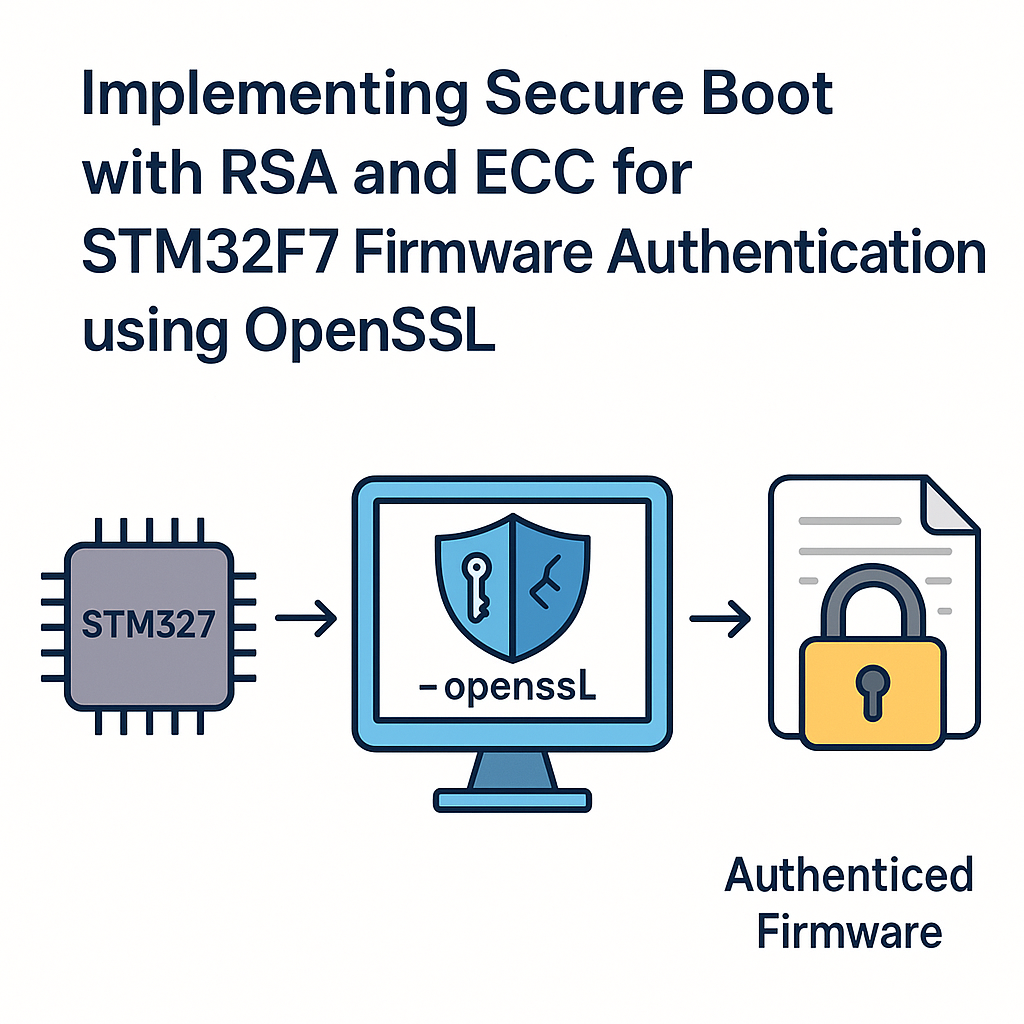
Implementing Secure Boot with RSA and ECC for STM32F7 Firmware Authentication using OpenSSL
myembeddedsystems.com
This tutorial provides a step-by-step guide to implementing Secure Boot for STM32F7 microcontrollers using RSA and ECC for firmware authentication with OpenSSL. Secure Boot ensures that only authenticated firmware runs on the device, protecting it from unauthorized access and ensuring integrity.
Prerequisites
- STM32F7 microcontroller development board
- OpenSSL installed on your development machine
- Basic understanding of cryptography, RSA, and ECC
- C programming knowledge
- STM32CubeIDE or similar development environment
Parts/Tools
- STM32F7 Development Board
- USB-to-serial adapter (if needed)
- OpenSSL command-line tools
- STM32CubeMX for initializing peripherals
- STM32CubeIDE for firmware development
Steps
- Generate RSA and ECC Keys
-
- Open your terminal (or command prompt) and run the following commands to generate RSA and ECC keys:
openssl genpkey -algorithm RSA -out rsa_private.pem openssl rsa -pubout -in rsa_private.pem -out rsa_public.pem openssl ecparam -name prime256v1 -genkey -noout -out ecc_private.pem openssl ec -in ecc_private.pem -pubout -out ecc_public.pem -
- Sign the Firmware
-
- Compile your firmware project to get the binary file (e.g., firmware.bin).
- Sign the firmware using the RSA private key:
openssl dgst -sha256 -sign rsa_private.pem -out firmware.sig firmware.bin -
- Prepare the STM32F7 for Secure Boot
-
- Use STM32CubeMX to configure the necessary peripherals, including the GPIO and USART.
- Initialize the hardware in your firmware code:
#include "stm32f7xx_hal.h" void HAL_MspInit(void) { // Initialization code } -
- Load the Firmware and Signature
- Upload firmware.bin and firmware.sig to the STM32F7 via the USB-to-serial adapter.
- Store the firmware in flash memory.
- Implement Verification Logic
-
- Load the public key to verify the firmware signature:
#include "openssl/rsa.h" #include "openssl/pem.h" // Load public key FILE *pubKeyFile = fopen("rsa_public.pem", "r"); RSA *rsa = PEM_read_RSA_PUBKEY(pubKeyFile, NULL, NULL, NULL); fclose(pubKeyFile);-
- Verify the signature of the firmware:
int verify = RSA_verify(NID_sha256, firmware_hash, SHA256_DIGEST_LENGTH, signature, signature_length, rsa); if (verify != 1) { // Handle verification failure } -
- Boot the Application
-
- If verification passes, jump to the application address to start executing the firmware:
void (*app_entry)(void); app_entry = (void (*)(void))(*((uint32_t*)(application_address + 4))); app_entry(); -
Troubleshooting
- Signature Verification Failed: Ensure the public key matches the private key used for signing.
- Firmware Not Running: Check that the application address is correctly set and the firmware is correctly uploaded.
- OpenSSL Errors: Ensure OpenSSL is correctly installed and accessible from your command line.
- Flash Memory Issues: Make sure your memory addresses are correctly defined and do not overlap.
Conclusion
By following these steps, you can successfully implement Secure Boot for your STM32F7 microcontroller using RSA and ECC for firmware authentication. This approach helps maintain the integrity of your device’s firmware and protects against unauthorized modifications. Remember to keep your private keys secure and regularly update your firmware as needed.


