
Introduction
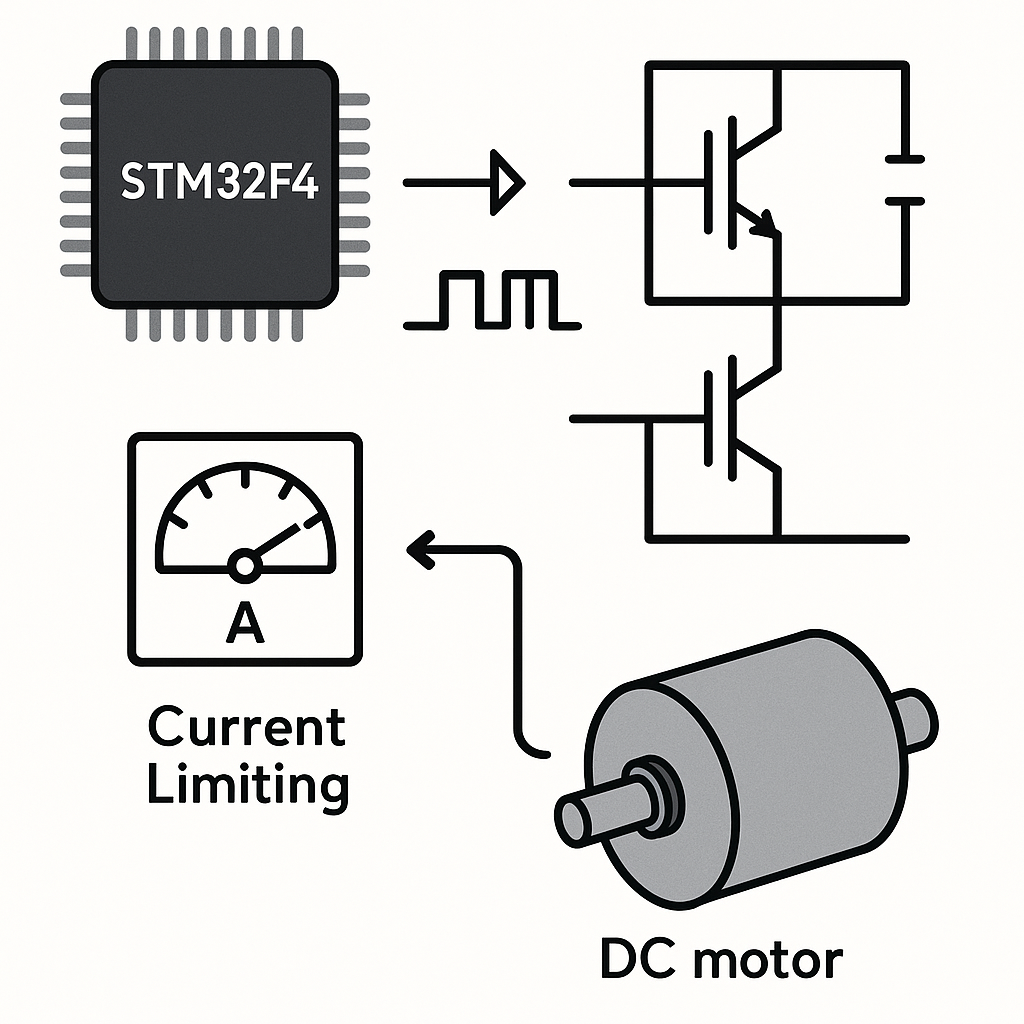
Implementing Pulse Width Modulation (PWM)-based current limiting for a DC motor using an H-bridge with an STM32F4 microcontroller is an essential technique in motor control applications. This tutorial will guide you through the necessary steps to set up your STM32F4 microcontroller to manage a DC motor’s current, protecting it from overcurrent situations.
Prerequisites
- Basic understanding of microcontrollers and programming
- Familiarity with STM32 development environment (STM32CubeIDE or similar)
- Knowledge of H-bridge circuits and PWM concepts
- DC motor with specifications for current rating
- Power supply compatible with the motor
Parts/Tools
- STM32F4 microcontroller
- H-bridge module (e.g., L298N or similar)
- DC motor
- Power supply (as per motor specifications)
- Breadboard and jumper wires
- Multimeter for measuring current
Steps
- Set up the hardware
- Connect the H-bridge to the STM32F4 according to the following pin configuration:
STM32F4 Pin | H-Bridge Pin --------------|-------------- PWM Output | ENA (Enable A) GPIO A | IN1 GPIO B | IN2 - Connect the DC motor to the output pins of the H-bridge.
- Power the H-bridge and STM32F4 with the appropriate supply voltage.
- Connect the H-bridge to the STM32F4 according to the following pin configuration:
- Configure the STM32F4 project
- Create a new project in STM32CubeIDE for the STM32F4 microcontroller.
- Enable the PWM feature for the selected timer in the CubeMX configuration.
- Set the PWM frequency according to your motor specifications (e.g., 20 kHz).
- Generate the project code and open it in the IDE.
- Implement current sensing
- Use a shunt resistor in series with the DC motor to measure current.
- Connect an ADC channel on the STM32F4 to read the voltage across the shunt resistor.
- In the main code, initialize the ADC and set up a function to read the current:
                float readCurrent() {
                    // Start ADC conversion
                    HAL_ADC_Start(&hadc);
                    // Wait for conversion
                    HAL_ADC_PollForConversion(&hadc, HAL_MAX_DELAY);
                    // Read value
                    uint32_t adcValue = HAL_ADC_GetValue(&hadc);
                    // Convert ADC value to current (apply calibration factor)
                    return (adcValue * V_REF / ADC_MAX) / SHUNT_RESISTOR;
                }
- Implement PWM control with current limiting
- Define maximum current limit and initialize the PWM:
#define MAX_CURRENT 1.0 // 1 Amp void setMotorSpeed(uint8_t speed) { __HAL_TIM_SET_COMPARE(&htim, TIM_CHANNEL_1, speed); } - In the main loop, read the current and adjust PWM duty cycle accordingly:
                while (1) {
                    float current = readCurrent();
                    if (current > MAX_CURRENT) {
                        // Reduce speed if current exceeds limit
                        setMotorSpeed(current * (MAX_CURRENT / current));
                    }
                    // Add logic to control motor speed based on other factors
                }
- Define maximum current limit and initialize the PWM:
Troubleshooting
- Motor does not run: Check power connections and H-bridge wiring.
- Incorrect current readings: Verify shunt resistor value and ADC configuration.
- PWM signal not outputting: Ensure timer is started and configured correctly.
- Motor stalls or overheats: Check for proper current limiting and adjust the resistor values if needed.
Conclusion
By following this tutorial, you have successfully implemented PWM-based current limiting for a DC motor using an H-bridge with an STM32F4 microcontroller. This setup not only protects your motor but also enhances its performance and lifespan. Experiment with different PWM frequencies and current limits to optimize your motor control application.

