
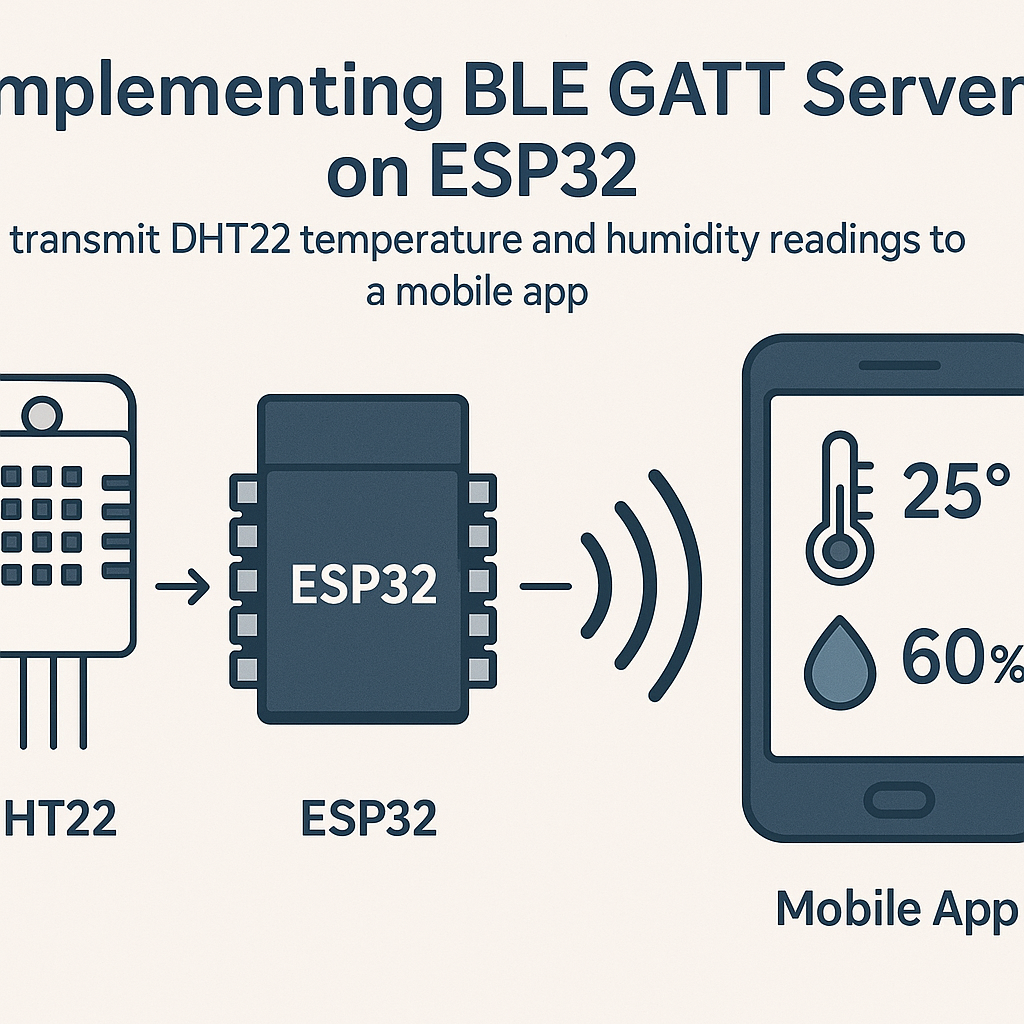
Implementing BLE GATT Server on ESP32 to Transmit DHT22 Temperature and Humidity Readings to a Mobile App
In this tutorial, we will guide you through the process of implementing a BLE GATT server on an ESP32 to transmit temperature and humidity readings from a DHT22 sensor to a mobile app. This is useful for creating a smart home application or monitoring environmental conditions remotely.
Prerequisites
- Basic knowledge of Arduino programming.
- ESP32 development board.
- DHT22 temperature and humidity sensor.
- Arduino IDE installed.
- ESP32 board package installed in Arduino IDE.
- BLE Scanner app installed on your mobile device.
Parts/Tools
- ESP32 Development Board
- DHT22 Sensor
- Jumper wires
- Breadboard (optional)
Steps
- Wiring the DHT22 Sensor to ESP32
- Connect the VCC pin of the DHT22 to the 3.3V pin on the ESP32.
- Connect the GND pin of the DHT22 to a GND pin on the ESP32.
- Connect the DATA pin of the DHT22 to GPIO 23 on the ESP32.
- Install Required Libraries
Open the Arduino IDE and install the following libraries:
- DHT sensor library by Adafruit
- ESP32 BLE library
- Writing the Arduino Code
Open a new sketch in Arduino IDE and add the following code:
#include <DHT.h> #include <BLEDevice.h> #include <BLEUtils.h> #include <BLEServer.h> #define DHTPIN 23 #define DHTTYPE DHT22 DHT dht(DHTPIN, DHTTYPE); BLEServer *pServer = NULL; BLECharacteristic *pCharacteristic = NULL; bool deviceConnected = false; void setup() { Serial.begin(115200); dht.begin(); BLEDevice::init("ESP32_DHT22"); pServer = BLEDevice::createServer(); pServer->setCallbacks(new MyServerCallbacks()); pCharacteristic = pServer->createCharacteristic( BLEUUID((uint16_t)0xFF01), BLECharacteristic::PROPERTY_NOTIFY ); pServer->startAdvertising(); } void loop() { if (deviceConnected) { float h = dht.readHumidity(); float t = dht.readTemperature(); String data = "Humidity: " + String(h) + "%, Temperature: " + String(t) + "°C"; pCharacteristic->setValue(data.c_str()); pCharacteristic->notify(); delay(2000); } } class MyServerCallbacks : public BLEServerCallbacks { void onConnect(BLEServer* pServer) { deviceConnected = true; } void onDisconnect(BLEServer* pServer) { deviceConnected = false; } } - Upload the Code
- Select the correct board and COM port in the Arduino IDE.
- Upload the sketch to your ESP32 board.
- Testing the BLE Connection
- Open the BLE Scanner app on your mobile device.
- Search for the device named “ESP32_DHT22”.
- Connect to the device and subscribe to notifications.
- You should start receiving temperature and humidity readings every 2 seconds.
Troubleshooting
- ESP32 Not Connecting: Ensure that the ESP32 is powered and properly connected to your computer. Check the selected COM port in the Arduino IDE.
- Incorrect Readings: Verify that the DHT22 sensor is wired correctly and functioning. You can test it with a simple DHT22 reading sketch.
- BLE Notifications Not Working: Ensure that notifications are enabled in your BLE Scanner app. Try disconnecting and reconnecting to the ESP32.
Conclusion
Congratulations! You have successfully implemented a BLE GATT server on the ESP32 that transmits DHT22 temperature and humidity readings to a mobile app. This project can be expanded further by integrating more sensors or creating a more complex user interface on your mobile app. Happy coding!

