
Introduction
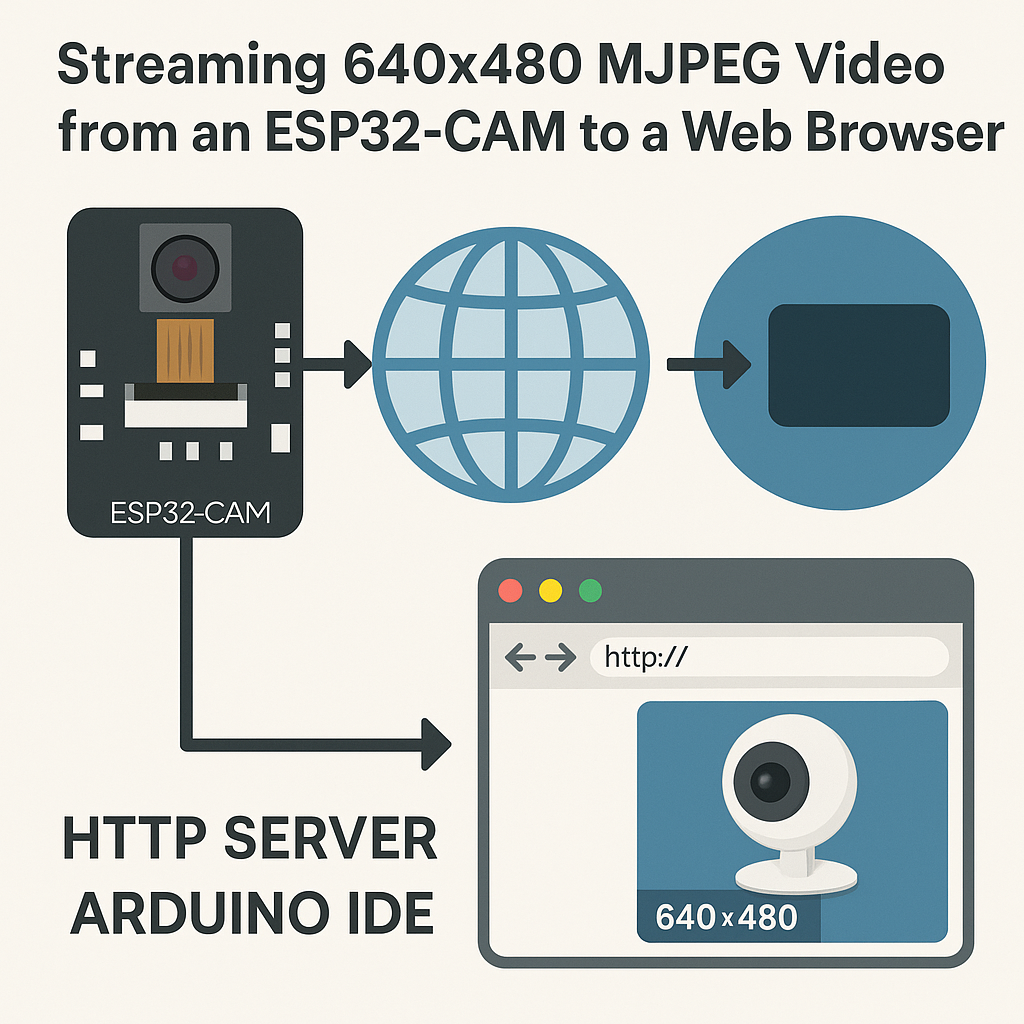
In this tutorial, we will learn how to stream MJPEG video at a resolution of 640×480 from an ESP32-CAM to a web browser using an HTTP server in the Arduino IDE. The ESP32-CAM is a low-cost camera module that can capture video and stream it over Wi-Fi, making it ideal for projects like security cameras or remote monitoring systems.
Prerequisites
- ESP32-CAM module
- FTDI USB to TTL Serial Adapter (for programming the ESP32-CAM)
- Arduino IDE installed on your computer
- ESP32 board support added to Arduino IDE
- Basic knowledge of programming and using Arduino IDE
Parts/Tools
- ESP32-CAM module
- FTDI USB to TTL Serial Adapter
- Jumper wires
- Computer with Arduino IDE
- Wi-Fi network
Steps
- Setup Arduino IDE for ESP32-CAM
- Open the Arduino IDE.
- Go to File > Preferences.
- In the Additional Board Manager URLs field, add the following URL:
- Click OK.
https://dl.espressif.com/dl/package_esp32_index.json - Install ESP32 Board Package
- Go to Tools > Board > Boards Manager.
- Search for ESP32 and click Install on the ESP32 by Espressif Systems.
- Connect ESP32-CAM to FTDI Adapter
- Connect the FTDI adapter to the ESP32-CAM as follows:
- FTDI GND ↔ ESP32-CAM GND
- FTDI VCC ↔ ESP32-CAM 5V
- FTDI TX ↔ ESP32-CAM RX
- FTDI RX ↔ ESP32-CAM TX
- FTDI GPIO0 ↔ GND (for programming mode)
- Connect the FTDI adapter to your computer via USB.
- Upload Code to ESP32-CAM
- Open a new sketch in the Arduino IDE.
- Copy and paste the following code:
- Replace
YOUR_SSIDandYOUR_PASSWORDwith your Wi-Fi credentials. - Select the correct board and port from Tools menu.
- Click on the upload button to upload the code.
- Once uploaded, disconnect GPIO0 from GND to reset the ESP32-CAM.
#include "esp_camera.h" #include const char* ssid = "YOUR_SSID"; const char* password = "YOUR_PASSWORD"; void startCameraServer(); void setup() { Serial.begin(115200); camera_config_t config; config.ledc_channel = LEDC_CHANNEL; config.ledc_timer = LEDC_TIMER; config.pin_d0 = 32; config.pin_d1 = 33; config.pin_d2 = 34; config.pin_d3 = 35; config.pin_d4 = 36; config.pin_d5 = 37; config.pin_d6 = 38; config.pin_d7 = 39; config.pin_xclk = 0; config.pin_pclk = 22; config.pin_vsync = 25; config.pin_href = 23; config.pin_sscb_sda = 26; config.pin_sscb_scl = 27; config.pin_reset = -1; config.xclk_freq_hz = 20000000; config.pixel_format = PIXFORMAT_JPEG; if (psramFound()) { config.frame_size = FRAMESIZE_VGA; config.jpeg_quality = 12; config.fb_count = 2; } else { config.frame_size = FRAMESIZE_SVGA; config.jpeg_quality = 12; config.fb_count = 1; } // Initialize the camera esp_err_t err = esp_camera_init(&config); if (err != ESP_OK) { Serial.printf("Camera init failed with error 0x%x", err); return; } // Start the server startCameraServer(); Serial.println("Camera Ready! Use 'http:///stream' to view the stream."); } void loop() { delay(10000); } void startCameraServer() { // Start the camera server here } - Access the Video Stream
- Open the Serial Monitor from the Arduino IDE.
- Note the IP address that the ESP32-CAM prints.
- Open a web browser and enter
http:///streamto view the video stream.
Troubleshooting
- Camera Initialization Failed: Ensure that all connections are secure and the correct board is selected in the Arduino IDE.
- Wi-Fi Connection Issue: Double-check your Wi-Fi SSID and password, and ensure that the ESP32-CAM is within range.
- No Video Stream: Refresh the web page or check the Serial Monitor for any error messages.
- Low Frame Rate: Reduce the resolution in the code by changing the
config.frame_sizeparameter.
Conclusion
In this tutorial, you have successfully set up an ESP32-CAM to stream MJPEG video at 640×480 resolution over a web browser. This simple project can be a foundation for more advanced applications like motion detection or remote monitoring. Explore further by adding features to enhance your project!

