
Introduction
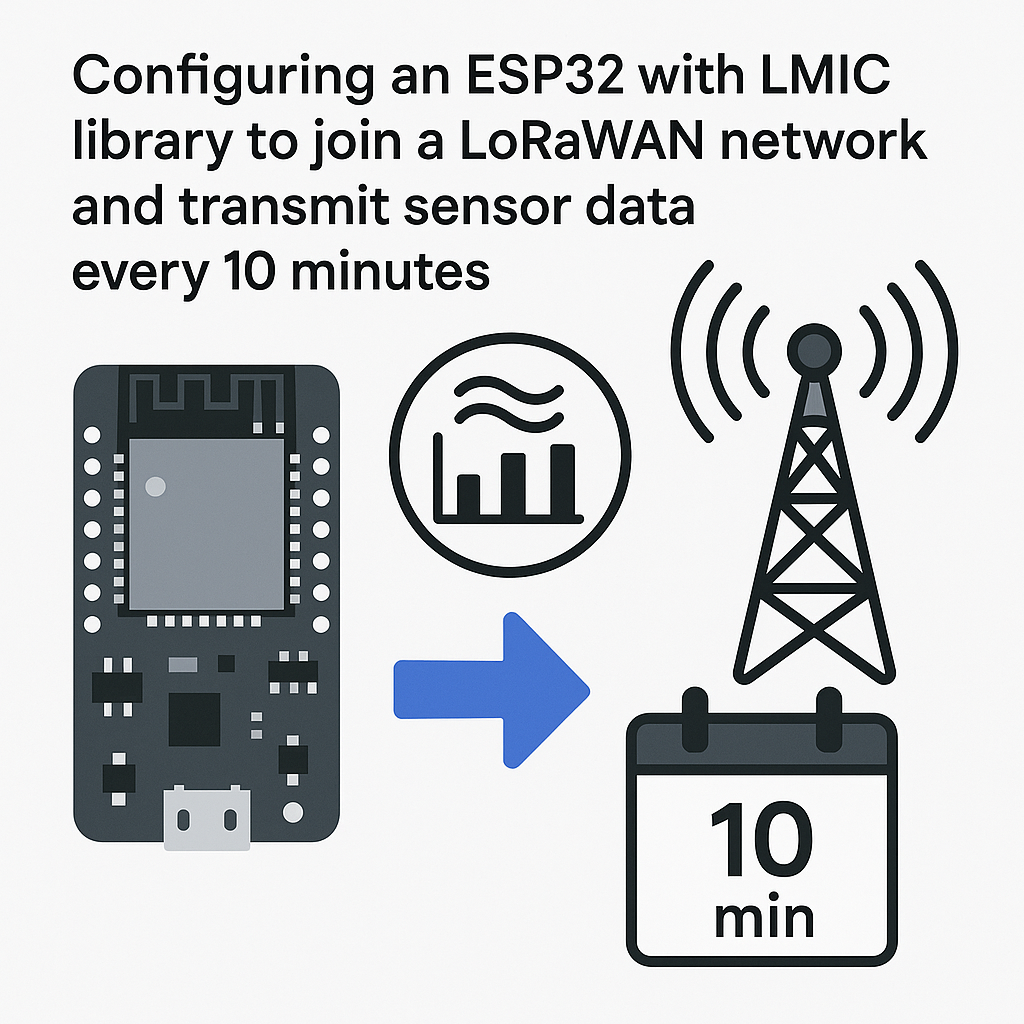
In this tutorial, we will walk through the steps to configure an ESP32 microcontroller with the LMIC (LoraWAN-MAC-in-C) library. This setup will allow the ESP32 to join a LoRaWAN network and transmit sensor data every 10 minutes. By the end of this tutorial, you will have a working device transmitting data over long distances using LoRa technology.
Prerequisites
- Basic knowledge of Arduino programming
- ESP32 development board
- Arduino IDE installed on your computer
- LMIC library for Arduino
- LoRaWAN network credentials (AppEUI, AppKey, and DevEUI)
- Sensor for data transmission (e.g., temperature or humidity sensor)
Parts/Tools
- ESP32 Development Board
- LoRa Module (e.g., RFM95W)
- Temperature or Humidity Sensor (e.g., DHT11)
- Jumper wires
- Breadboard (optional)
- USB cable for programming the ESP32
Steps
- Set Up the Arduino IDE
- Open the Arduino IDE and go to File > Preferences.
- In the Additional Board Manager URLs field, enter the following URL:
- Go to Tools > Board > Board Manager, search for “ESP32” and install the package.
https://dl.espressif.com/dl/package_esp32_index.json - Install the LMIC Library
- Go to Sketch > Include Library > Manage Libraries.
- Search for “LMIC” and install the LMIC by MCCI library.
- Connect the Hardware
Wire the ESP32 to the LoRa module and the sensor as follows:
ESP32       RFM95W
---------------------
3.3V        VCC
GND         GND
GPIO 5      NSS
GPIO 19     SCK
GPIO 27     MOSI
GPIO 26     MISO
GPIO 23     RST
Connect the sensor to the appropriate GPIO pins on the ESP32.
- Write the Code
Open a new sketch and paste the following code:
#include #include #include #define DHTPIN 4 #define DHTTYPE DHT11 DHT dht(DHTPIN, DHTTYPE); static const u1_t PROGMEM APPEUI[] = { ... }; // Your AppEUI static const u1_t PROGMEM DEVEUI[] = { ... }; // Your DevEUI static const u1_t PROGMEM APPKEY[] = { ... }; // Your AppKey void os_getArtEui (u1_t* buf) { memcpy(buf, APPEUI, 8); } void os_getDevEui (u1_t* buf) { memcpy(buf, DEVEUI, 8); } void os_getDevKey (u1_t* buf) { memcpy(buf, APPKEY, 16); } void setup() { Serial.begin(115200); dht.begin(); os_init(); LMIC_reset(); } void loop() { os_runloop_once(); delay(600000); // Wait for 10 minutes float h = dht.readHumidity(); float t = dht.readTemperature(); if (!isnan(h) && !isnan(t)) { String payload = String(h) + "," + String(t); LMIC_setTxData2(1, (uint8_t*)payload.c_str(), payload.length(), 0); } } - Upload the Code
- Select the correct board and port under Tools.
- Click on the Upload button to upload the code to your ESP32.
- Monitor the Output
Open the Serial Monitor from the Arduino IDE to see the output.
Troubleshooting
- If the ESP32 does not connect to the LoRaWAN network, check your AppEUI, AppKey, and DevEUI values.
- Ensure that the wiring connections are correct and secure.
- Check the Serial Monitor for any error messages or debug information.
- Verify that the LMIC library is properly included in your project.
Conclusion
Congratulations! You have successfully configured your ESP32 with the LMIC library to join a LoRaWAN network and transmit sensor data every 10 minutes. This setup can be extended to include more sensors or to change the transmission frequency as per your project requirements. Explore further by integrating different sensors or enhancing the data processing logic!

