
Introduction
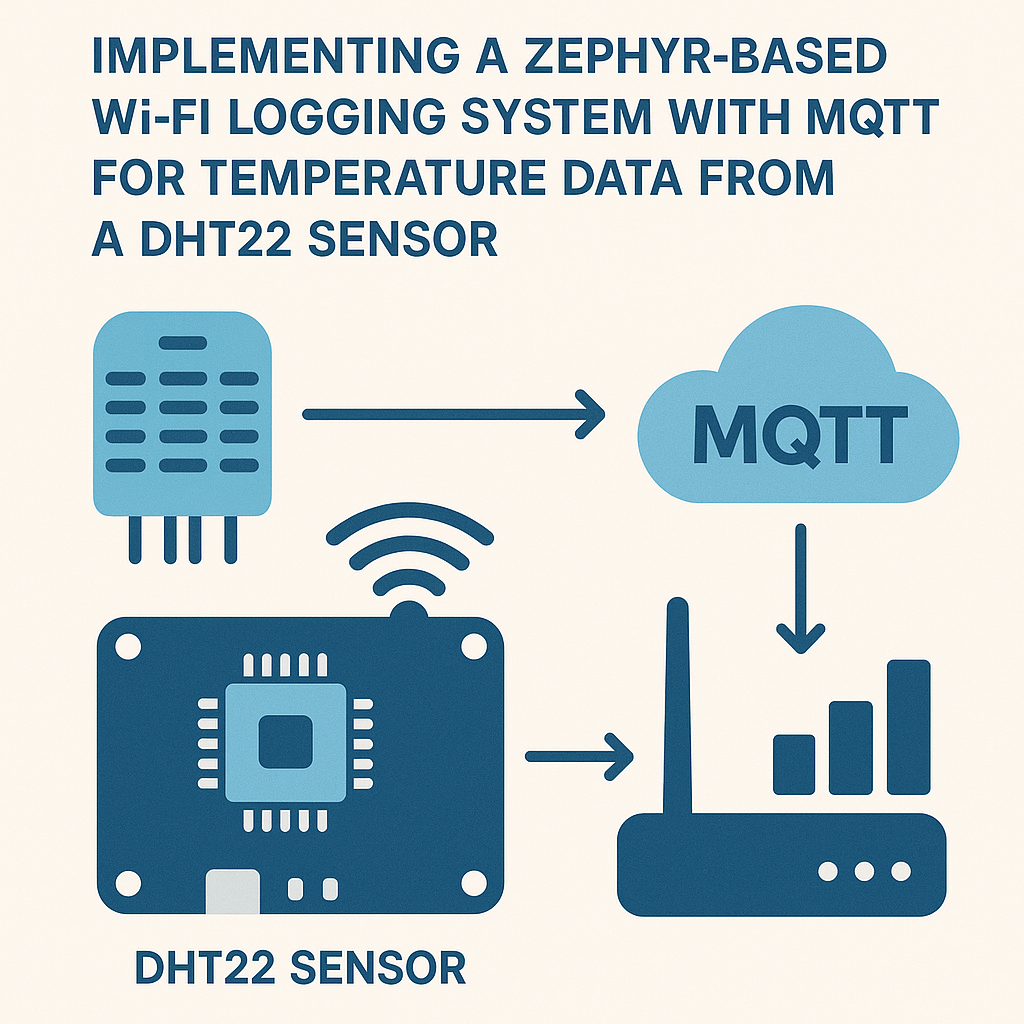
In this tutorial, we will implement a Zephyr-based Wi-Fi logging system that utilizes MQTT to transmit temperature data collected from a DHT22 sensor. This project is ideal for anyone looking to monitor temperature remotely and is a great introduction to IoT (Internet of Things) applications using the Zephyr RTOS.
Prerequisites
- Basic knowledge of C programming
- Familiarity with Zephyr RTOS
- Access to a DHT22 temperature sensor
- A compatible development board (e.g., ESP32)
- MQTT broker (e.g., Mosquitto) set up on your local network
- Development tools installed (Zephyr SDK, CMake, etc.)
Parts/Tools
- DHT22 Temperature Sensor
- ESP32 Development Board
- Jumper wires
- Computer with Zephyr SDK installed
- MQTT Broker (e.g., Mosquitto)
Steps
-
Set Up the Hardware
- Connect the DHT22 sensor to the ESP32 as follows:
- VCC to 3.3V
- GND to Ground
- DATA to a GPIO pin (e.g., GPIO 23)
- Ensure the ESP32 is powered and connected to your computer.
-
Configure the Zephyr Project
- Create a new Zephyr project directory:
- Create a new application folder:
- Set up the CMakeLists.txt file:
mkdir zephyr_wifi_logging cd zephyr_wifi_logging west init west updatemkdir -p app/src cd app/srccmake_minimum_required(VERSION 3.13.1) include($ENV{ZEPHYR_BASE}/cmake/app/boilerplate.cmake NO_POLICY_SCOPE) project(zephyr_wifi_logging) target_sources(app PRIVATE main.c) -
Write the Main Application Code
- Create the main.c file and include necessary headers:
- Initialize the DHT22 sensor and MQTT client:
- Implement the temperature reading function:
- Publish the temperature data to the MQTT broker:
#include #include #include #include #include #include // Other necessary includesvoid main(void) { const struct device *sensor = device_get_binding("DHT22"); // Initialize MQTT client and connection parameters }float read_temperature(const struct device *sensor) { struct sensor_value temp; sensor_sample_fetch(sensor); sensor_channel_get(sensor, SENSOR_CHAN_AMBIENT_TEMP, &temp); return sensor_value_to_float(&temp); }void publish_temperature(float temperature) { // MQTT publish logic mqtt_publish(&mqtt_client, "temperature/topic", temperature); } -
Configure Network Settings
- Set up the Wi-Fi settings in your project configuration:
- Ensure the MQTT broker settings are correctly set in your code.
CONFIG_WIFI=y CONFIG_WIFI_SSID="Your_SSID" CONFIG_WIFI_PASSWORD="Your_Password" -
Build and Flash the Application
- Build the application:
- Flash the application to the ESP32:
west build -b esp32 appwest flash
Troubleshooting
- If the sensor readings are incorrect, check the wiring and ensure the DHT22 is functioning properly.
- For MQTT connection issues, verify the broker is running and accessible from the ESP32.
- Check the console output for any error messages during the build or runtime to identify specific issues.
Conclusion
In this tutorial, we successfully implemented a Zephyr-based Wi-Fi logging system that collects temperature data from a DHT22 sensor and transmits it to an MQTT broker. This basic IoT setup can be expanded with additional sensors or functionalities for more complex applications. Happy coding!

