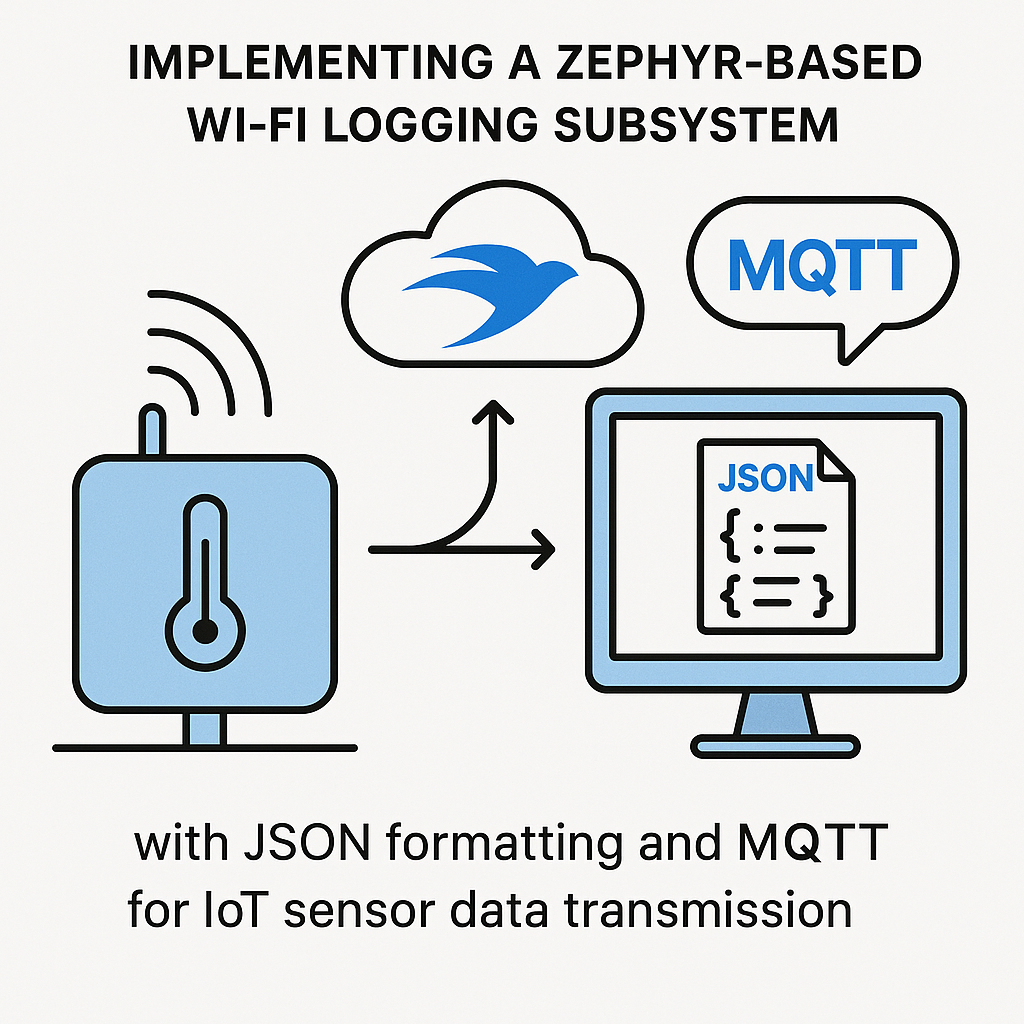
Implementing a Zephyr-based Wi-Fi Logging Subsystem with JSON Formatting and MQTT for IoT Sensor Data Transmission
This tutorial will guide you through setting up a Wi-Fi logging subsystem using the Zephyr RTOS for IoT sensor data transmission. We will cover the necessary prerequisites, tools, and provide step-by-step instructions to implement the system. You will learn how to format data in JSON and transmit it over MQTT.
Prerequisites
- Basic knowledge of embedded systems and C programming.
- Familiarity with Zephyr RTOS.
- MQTT broker (like Mosquitto) setup on your network.
- Wi-Fi module compatible with Zephyr.
- Development environment for Zephyr (like VS Code with the Zephyr extension).
Parts/Tools
- Development board (e.g., Nordic nRF52 or ESP32).
- Wi-Fi module (if not integrated into the development board).
- Power supply for the board.
- Micro-USB cable for programming.
- MQTT client (such as MQTT.fx or MQTT Explorer for testing).
- Zephyr SDK installed.
Steps
-
Set Up Your Development Environment
- Install the Zephyr SDK and set up the environment following the Zephyr Getting Started Guide.
- Clone the Zephyr repository:
git clone https://github.com/zephyrproject-rtos/zephyr.git
-
Create a New Zephyr Project
- Navigate to the Zephyr folder and create a new application directory:
mkdir my_wifi_logging_app && cd my_wifi_logging_app - Create a basic CMakeLists.txt file:
cmake_minimum_required(VERSION 3.13)
project(my_wifi_logging_app)
find_package(Zephyr REQUIRED HINTS $ENV{ZEPHYR_BASE})
include($ENV{ZEPHYR_BASE}/cmake/app/boilerplate.cmake NO_POLICY_SCOPE)
target_sources(app PRIVATE src/main.c)
- Navigate to the Zephyr folder and create a new application directory:
-
Write the Main Application Logic
- Create a src directory and a main.c file:
mkdir src && touch src/main.c - Include necessary headers and set up the Wi-Fi and MQTT configurations in main.c:
#include
#include
#include
#include

// Define Wi-Fi and MQTT credentials
#define WIFI_SSID "your_ssid"
#define WIFI_PASS "your_password"
#define MQTT_BROKER "broker.hivemq.com"
#define MQTT_TOPIC "sensor/data"
- Create a src directory and a main.c file:
-
Establish Wi-Fi Connection
- Implement the Wi-Fi connection logic:
void connect_wifi() {
    struct wifi_connect_req_params connect_params = {
        .ssid = WIFI_SSID,
        .pass = WIFI_PASS,
        .channel = 0,
    };
    // Connect to the Wi-Fi network
    wifi_connect(&connect_params);
}
- Implement the Wi-Fi connection logic:
-
Set Up MQTT Client
- Initialize the MQTT client and connect:
void mqtt_connect() {
    struct mqtt_client client;
    // Initialization code
    mqtt_connect(&client, MQTT_BROKER, MQTT_PORT);
}
- Initialize the MQTT client and connect:
-
Format Sensor Data as JSON and Publish
- Create a function to publish data:
void publish_sensor_data(float temperature, float humidity) {
    cJSON *json = cJSON_CreateObject();
    cJSON_AddNumberToObject(json, "temperature", temperature);
    cJSON_AddNumberToObject(json, "humidity", humidity);
    char *json_string = cJSON_Print(json);

    mqtt_publish(&client, MQTT_TOPIC, json_string);

    cJSON_Delete(json);
    free(json_string);
}
- Create a function to publish data:
-
Compile and Run Your Application
- Build your application:
west build -b my_wifi_logging_app - Flash your application to the board:
west flash
- Build your application:
Troubleshooting
- If the Wi-Fi connection fails, double-check your credentials and ensure the Wi-Fi module is correctly configured.
- For MQTT connection issues, verify the broker URL and port number.
- Use MQTT clients to subscribe to the topic to confirm that messages are being sent correctly.
- Check for any compilation errors by reviewing the build output in your terminal.
Conclusion
In this tutorial, you learned how to implement a Wi-Fi logging subsystem using Zephyr RTOS, format sensor data in JSON, and transmit it via MQTT. You can expand this project by adding more sensors or integrating with cloud platforms for further data analysis.


