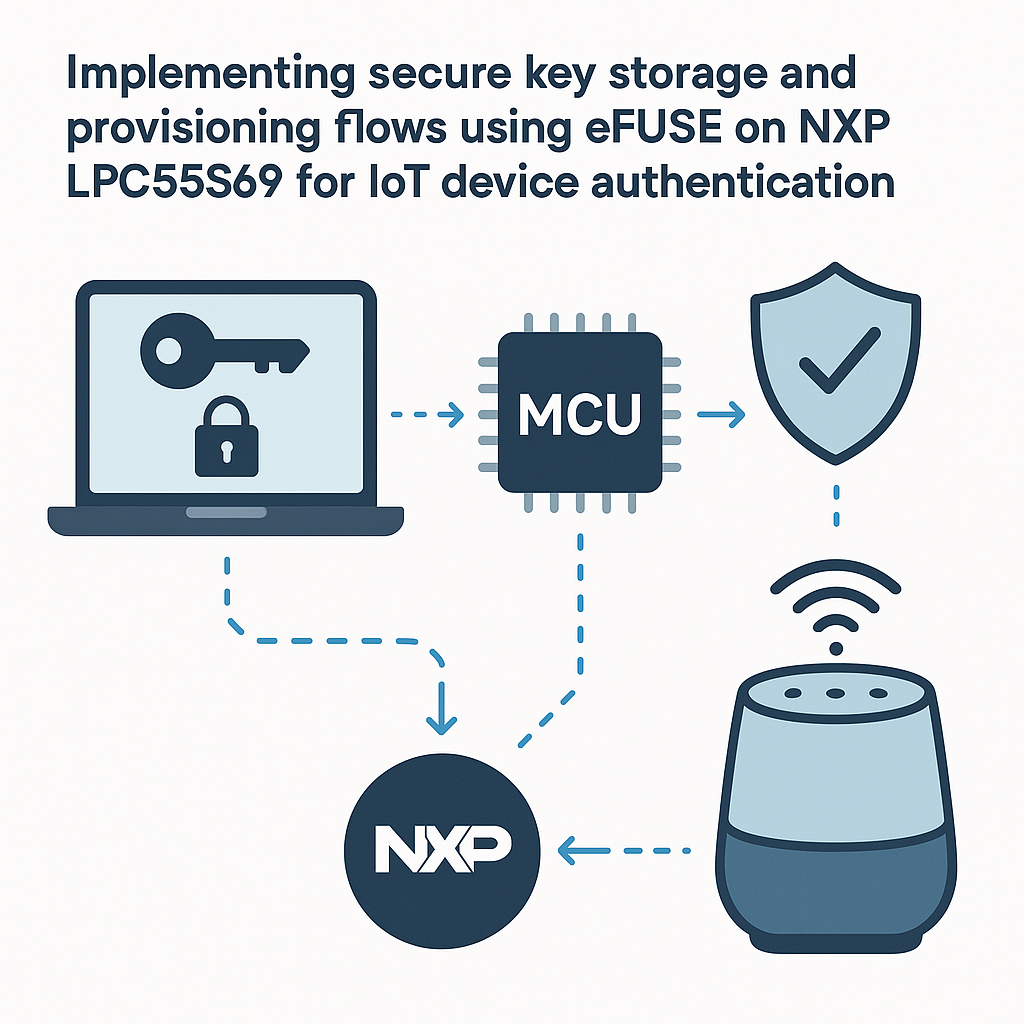
Implementing Secure Key Storage and Provisioning Flows Using eFUSE on NXP LPC55S69 for IoT Device Authentication
This tutorial will guide you through the process of implementing secure key storage and provisioning flows using eFUSE on the NXP LPC55S69 microcontroller. This is essential for ensuring that your IoT devices authenticate securely, safeguarding sensitive data and operations.
Prerequisites
- Basic understanding of IoT and microcontroller programming.
- NXP LPC55S69 development board.
- Access to a development environment with NXP MCUXpresso IDE installed.
- Familiarity with C/C++ programming languages.
- Knowledge of cryptographic concepts and practices.
Parts/Tools
- NXP LPC55S69 development board.
- USB cable for power and programming.
- MCUXpresso IDE.
- OpenSSL or similar cryptographic libraries.
- eFUSE programming tools (provided with the SDK).
Steps
- Set up your development environment:
- Download and install MCUXpresso IDE from the NXP website.
- Open the IDE and create a new project for the LPC55S69.
- Select the appropriate SDK for your LPC55S69 board.
- Understand eFUSE Basics:
- eFUSE is a one-time programmable memory that can store security keys.
- Familiarize yourself with the NXP LPC55S69 eFUSE documentation.
- Generate and store cryptographic keys:
- Use OpenSSL to generate a secure key pair:
openssl genpkey -algorithm RSA -out private_key.pemopenssl rsa -in private_key.pem -pubout -out public_key.pem - Prepare the keys for eFUSE storage according to the NXP guidelines.
- Use OpenSSL to generate a secure key pair:
- Program the eFUSE:
- Connect your LPC55S69 board to your computer.
- Open a terminal and navigate to the SDK tools directory.
- Use the eFUSE programming tool to write the generated key to eFUSE:
efuse_programmer --write --key private_key.pem
- Implement key retrieval method:
- In your project, create a function to read keys from eFUSE:
void readKeyFromEFuse() { // Code to read from eFUSE } - Ensure this function handles any potential errors during retrieval.
- In your project, create a function to read keys from eFUSE:
- Integrate key usage in authentication flow:
- Utilize the retrieved key in your IoT device authentication process:
bool authenticateDevice() { // Use key for authentication } - Test the authentication flow to ensure it works correctly.
- Utilize the retrieved key in your IoT device authentication process:
Troubleshooting
- eFUSE programming fails:
- Check that the board is powered and connected properly.
- Ensure you have the correct permissions to access eFUSE programming tools.
- Key retrieval returns errors:
- Verify the key is correctly programmed in eFUSE.
- Double-check your read function for logical errors.
- Authentication process fails:
- Check if the correct key is being used in the authentication flow.
- Ensure all cryptographic operations are correctly implemented.
Conclusion
By following this guide, you have implemented secure key storage and provisioning flows using eFUSE on the NXP LPC55S69 microcontroller. This process is critical for establishing a secure authentication mechanism for your IoT devices, thereby enhancing their security posture. Regularly review and test your implementation to adapt to any emerging threats in the IoT landscape.


