
Implementing Secure OTA Firmware Updates on ESP32 Using ESP-IDF with HTTPS and Custom Partition Tables
Over-the-Air (OTA) updates allow you to update the firmware of your ESP32 devices without physical access. In this tutorial, we will implement secure OTA firmware updates using HTTPS and custom partition tables with the ESP-IDF framework.
Prerequisites
- Basic knowledge of C programming
- ESP32 development board
- ESP-IDF installed on your development machine
- Wi-Fi access for the ESP32
- A web server to host the firmware binary
Parts/Tools
- ESP32 Development Board
- USB to Serial Programmer (if needed)
- Computer with ESP-IDF set up
- Access to a web server (can be local or cloud-based)
Steps
-
Set Up Your ESP-IDF Project
- Create a new ESP-IDF project by running:
- Navigate to the project directory:
idf.py create-project ota_examplecd ota_example -
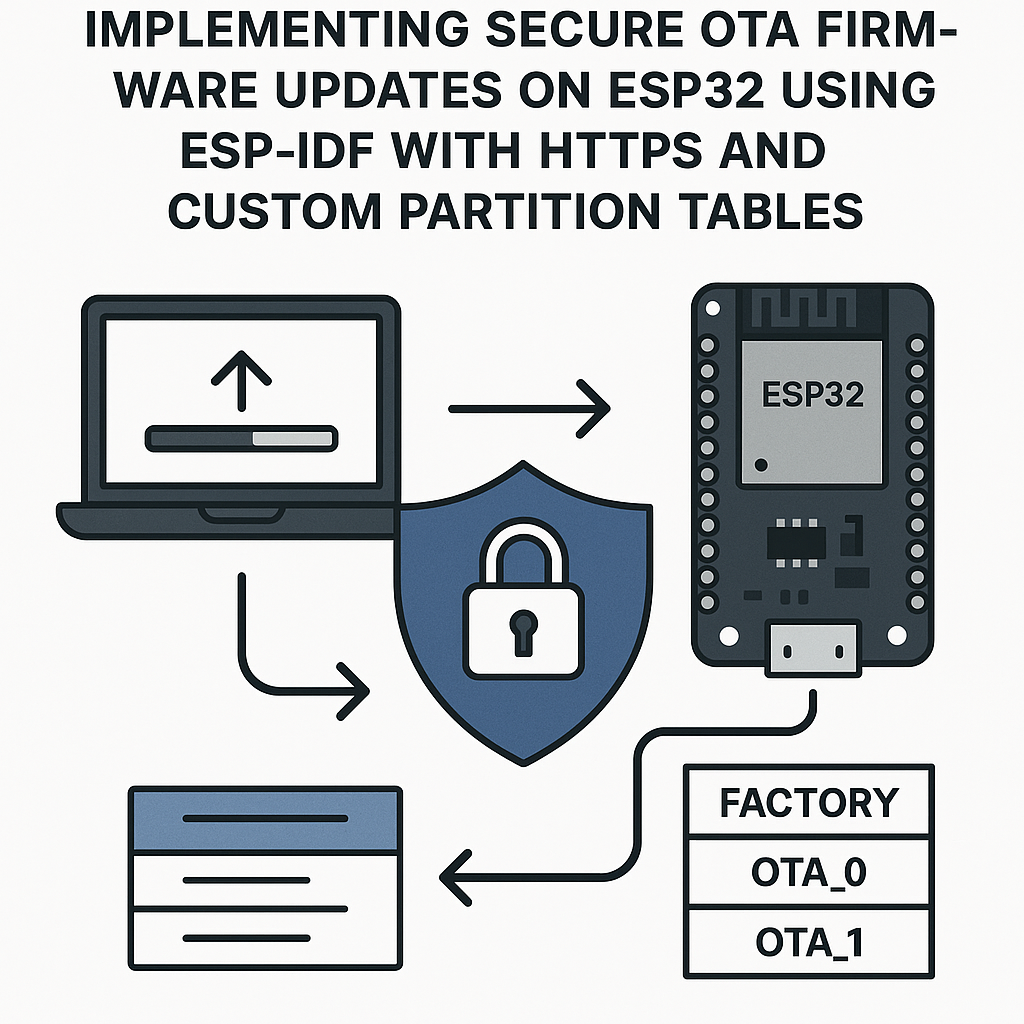
Define Custom Partition Table
- Create a new file named partitions.csv in the project directory.
- Add the following content to the file:
- Update your project’s configuration to use the custom partition table:
# # Name, Type, SubType, Offset, Size #--------------------------------------- nvs, data, nvs, , 0x2000 otadata, data, ota, , 0x2000 app0, app, ota_0, , 1M app1, app, ota_1, , 1M spiffs, data, spiffs, , 0x200000idf.py menuconfig -
Implement OTA Logic
- Open main.c and include the necessary headers:
- Add the OTA update function:
#include <esp_ota_ops.h> #include <esp_log.h> #include <esp_http_client.h> #include <esp_system.h>void ota_update(const char *url) { esp_http_client_config_t config = { .url = url, .cert_pem = server_cert_pem_start, }; esp_http_client_handle_t client = esp_http_client_init(&config); // Perform OTA esp_err_t err = esp_http_client_perform(client); if (err == ESP_OK) { ESP_LOGI(TAG, "OTA update successful"); } else { ESP_LOGE(TAG, "OTA update failed: %s", esp_err_to_name(err)); } esp_http_client_cleanup(client); } -
Connect to Wi-Fi
- In main.c, add Wi-Fi connection logic:
void wifi_init() { // Code to initialize Wi-Fi connection } -
Build and Flash the Application
- Run the following command to build and flash the firmware:
- Monitor the output:
idf.py -p (PORT) flashidf.py -p (PORT) monitor -
Perform OTA Update
- Upload your new firmware binary to your web server.
- Call the `ota_update` function with the URL of the new firmware:
ota_update("https://yourserver.com/path/to/firmware.bin");
Troubleshooting
- If the OTA update fails, check the server URL and ensure the firmware binary is accessible.
- Verify that the ESP32 is connected to the Wi-Fi network.
- Ensure that the partition table is correctly configured and the sizes are appropriate for your firmware.
- Check the logs for error messages to diagnose issues further.
Conclusion
Implementing secure OTA firmware updates on the ESP32 using ESP-IDF is a straightforward process that enhances the functionality and security of your IoT devices. By following this guide, you can ensure that your devices are always up-to-date with the latest features and security patches.

