
Introduction
This tutorial will guide you through the process of configuring OpenOCD for STM32F4 SWD debugging using ST-Link and implementing GPIO-based target reset management. OpenOCD (Open On-Chip Debugger) is a free and open-source tool that provides debugging, in-system programming, and boundary-scan testing for embedded target devices.
Prerequisites
- Basic knowledge of embedded systems and debugging concepts.
- STM32F4 microcontroller (e.g., STM32F407).
- ST-Link programmer/debugger.
- OpenOCD installed on your computer.
- Development environment set up (e.g., Eclipse, VSCode, etc.).
Parts/Tools
- STM32F4 microcontroller board
- ST-Link V2 or V3 programmer
- Jumper wires for GPIO connections
- OpenOCD software
- Access to a terminal or command prompt
Steps
- Connect the Hardware
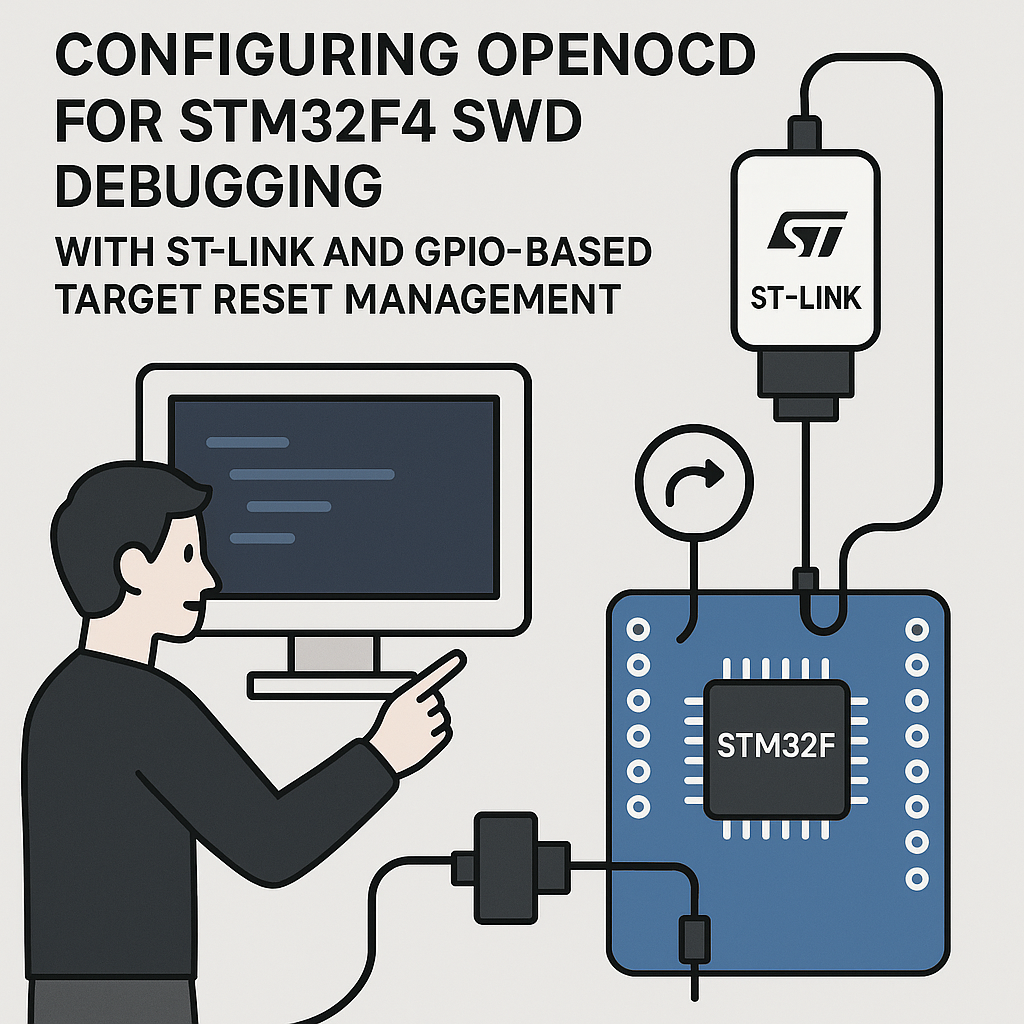
- Connect the ST-Link to the STM32F4 board.
- Ensure the following connections are made:
- SWDIO (Data line)
- SWCLK (Clock line)
- GND (Ground)
- VCC (Power, if needed)
- Connect a GPIO pin from the STM32F4 to the reset line of your target.
- Install OpenOCD
- Download the latest version of OpenOCD from the official website.
- Follow the installation instructions for your operating system (Windows, macOS, or Linux).
- Configure OpenOCD
- Create a configuration file for OpenOCD. Use the following template:
source [find interface/stlink.cfg] transport select swd set WORKAREASIZE 0x4000 source [find target/stm32f4x.cfg] init reset_config srst_only - Save the configuration file as stm32f4.cfg.
- Set Up GPIO Reset Management
- Modify the initialization in your firmware to set the GPIO pin as output for reset control.
- Here’s an example of configuring GPIO in your STM32F4 application:
#include "stm32f4xx.h" void GPIO_Init(void) { RCC->AHB1ENR |= RCC_AHB1ENR_GPIOCEN; // Enable GPIOC Clock GPIOC->MODER |= (1 <ODR &= ~(1 << 13); // Set PC13 low (reset) for (volatile int i = 0; i ODR |= (1 << 13); // Set PC13 high (release reset) } - Run OpenOCD
- Open a terminal and navigate to the directory containing your configuration file.
- Run OpenOCD using the following command:
openocd -f stm32f4.cfg - Ensure there are no errors and that OpenOCD starts successfully.
- Debug Your Application
- Use your development environment to connect to OpenOCD.
- Start a debug session and utilize the reset functionality via the GPIO.
Troubleshooting
- No connection to the target:
- Check all physical connections between the ST-Link and STM32F4 board.
- Ensure the ST-Link drivers are correctly installed.
- Verify that the correct configuration file is being used.
- Target not resetting:
- Ensure the GPIO pin is correctly configured and connected to the reset line.
- Check for any GPIO initialization issues in your firmware.
- OpenOCD errors:
- Review the output messages from OpenOCD for specific errors.
- Consult the OpenOCD documentation for troubleshooting tips.
Conclusion
Configuring OpenOCD for STM32F4 SWD debugging with ST-Link and GPIO-based reset management is a straightforward process that enhances your debugging capabilities. By following the steps outlined in this tutorial, you should be able to set up your environment for effective debugging and development. Always remember to check connections and configurations if you encounter issues, and refer to the documentation for additional support.

